Most Kohler kitchen faucet spray head problems come from mineral buildup, blocked nozzles, a clogged screen, a kinked hose, or a worn spray head. Start by cleaning the nozzle and checking the water flow. If the problem remains, identify your faucet model before removing parts or buying a replacement.
In American homes, a kitchen faucet can get a lot of daily use. It fills pots, rinses produce, washes dishes, and clears food from plates. When a Kohler pull-down or pull-out spray head starts to sputter, leak, or stay stuck in one mode, even a small fault can make kitchen work harder.
The good news is that many spray head faults have simple causes. Hard water can leave mineral deposits on the spray holes, while grit from plumbing work can block a small inlet screen. Other problems may come from the hose, the diverter, or the faucet cartridge rather than the spray head itself.
This guide explains how to narrow down the cause without taking apart more of the faucet than needed. It covers low flow, uneven spray, leaks, stuck buttons, poor hose retraction, and replacement choices. The steps apply to common faucet designs, but exact parts and removal methods vary by Kohler model.
The quickest way to troubleshoot a Kohler spray head is to match the symptom with its likely cause. A weak stream does not always mean the spray head has failed. A leak at the hose connection also needs a different repair from a leak around the handle.
Start with the simplest checks. Look at the spray pattern, test the available spray settings, and note where any water escapes. These details help you avoid replacing a working part.
Source: faucetfam.com
Low water flow
A blocked screen, mineral deposits, a kinked hose, or a supply problem may reduce flow.
Uneven or sideways spray
Some spray holes may be clogged with scale or debris.
Water leaking from the spray head
A damaged seal, loose connection, or faulty internal valve may be responsible.
Spray button will not switch modes
The selector may be stuck, worn, or blocked by mineral deposits.
Spray head will not retract
The hose may catch on stored items, bend sharply, or have a weight that is out of position.
Water leaks under the sink
The hose, a connection, or another faucet component may be leaking. Do not assume the spray head is the source.
Know Which Faucet Design You Have
A pull-down faucet has a spray head that extends from a high, curved spout. A pull-out faucet usually has a head that pulls forward from a lower spout. Some Kohler faucets use a separate side sprayer. These designs may have different hoses, connectors, and replacement parts.
Find the model number before ordering anything. Check your purchase records, product paperwork, or Kohler’s official product support resources. If the model label is missing, compare the faucet’s shape and handle layout with official product information, but confirm compatibility before buying a part.
Pull-down model
Check the retractable hose, spray head connection, and any hose weight or guide.
Pull-out model
Check the hose path and the connection where the head attaches.
Side sprayer
Check the separate sprayer, hose, and diverter arrangement. Parts may not match those used by pull-down faucets.
How to Fix a Kohler Spray Head With Low Water Pressure
When the spray head has weak flow, first determine whether the problem is limited to the head. Run the faucet in each available mode, then compare the flow with other water outlets in the home. If only the spray head has weak flow, a blockage or local connection issue is more likely than a whole-house supply problem.
If both hot and cold flow are weak throughout the kitchen, check the supply valves and other simple causes before taking the faucet apart. A plumbing issue, partially closed valve, or pressure problem may need attention beyond the spray head.
Source: faucetfam.com
Check the spray holes
Look for white scale, dark grit, or food residue around the nozzle. Clean the head using a method approved for its finish and model.
Inspect the hose
Pull the head out gently and check for sharp bends, twisting, or trapped sections beneath the sink.
Check the connection screen
If your model has a removable inlet screen, inspect it for debris and clean it according to the model instructions.
Test hot and cold water
A flow difference between hot and cold may point to a supply-side restriction or an internal faucet issue.
Clean Mineral Buildup From the Spray Nozzle
Mineral scale can build up when water dries on the nozzle. The deposits may block some openings and make the stream uneven. Hard water areas in the United States can be prone to this issue, although the amount of scale depends on the local water supply.
Wipe the nozzle with a soft cloth and use a soft brush on accessible openings. If the head has flexible rubber spray tips, gently rub them with your fingers to loosen surface deposits. Do not use a knife, metal pick, drill bit, or other sharp tool, as it can damage the nozzle.
If the deposits remain, follow the care instructions for your exact model and finish. Do not soak the full spray head in vinegar or another cleaner unless the manufacturer permits it. Some heads contain seals, coatings, and internal parts that may not tolerate every cleaning method.
Signs the cleaning worked
The spray pattern becomes more even, blocked openings clear, and water flows without the former sputtering.
If flow stays weak
Check the inlet screen, hose, and supply. A blocked internal passage or faulty part may require further service.
Check for a Clogged Screen or Debris
Small particles can enter faucet parts after plumbing repairs, supply-line work, or sediment disturbance. A screen, where fitted, may catch these particles before they reach the spray outlets.
Do not assume every Kohler spray head has the same screen or that the screen can be removed from the head itself. Consult the model’s instructions first. If removal is allowed, shut off the water, relieve pressure, protect the sink drain, and keep small parts in a safe place.
Rinse removable parts with clean water and reinstall them in the correct order. Avoid forcing a connector or using excessive torque. If the screen is damaged or the connection will not release, stop and seek model-specific guidance.
Use a drain stopper
Small screens and seals can slip into the sink during disassembly.
Keep parts in order
Take a photo before removing any approved removable components so you can restore their position.
What to Do When the Spray Pattern Is Uneven
An uneven spray often means that some nozzle openings are blocked, but the pattern can also be affected by a damaged spray plate or an internal flow problem. If water shoots sideways or several jets are missing, begin with gentle nozzle cleaning.
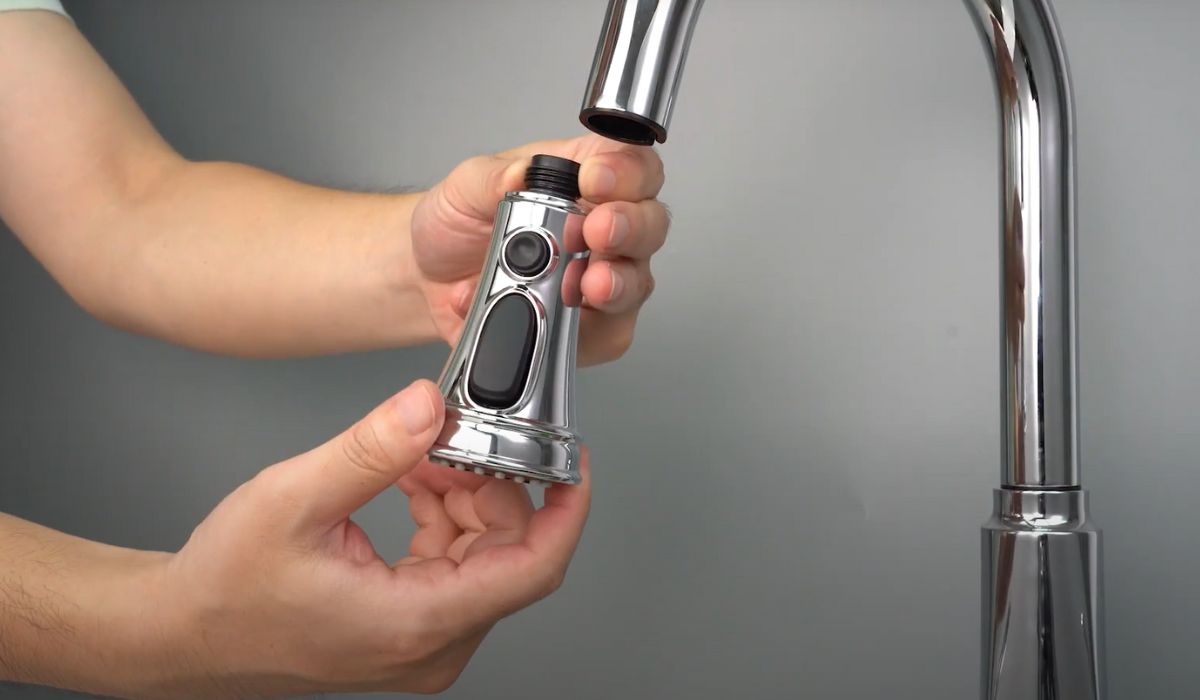
Turn off the water before attempting to remove the head. Some spray heads unscrew from the hose, while others use a quick-connect fitting or another model-specific design. Never twist the hose hard to force the head loose.
Source: i.ytimg.com
Clean accessible nozzle openings
Use a soft cloth or brush and the cleaning method approved for your model.
Inspect the spray plate
Look for cracks, broken tips, or visible damage that cleaning cannot correct.
Check each spray setting
Test all available modes after reassembly to see whether the fault affects one setting or every setting.
When Cleaning Does Not Restore the Spray
If the spray remains uneven after careful cleaning, the blockage may be deeper inside the head or the spray plate may be damaged. A worn selector or internal component can also prevent water from reaching the intended outlets.
Check whether the head is still covered by a warranty before taking it apart further. If the spray plate is cracked or a built-in selector has failed, replacement may be more practical than trying to repair a sealed assembly.
Replace only after checking compatibility
Match the replacement to the faucet model and the correct connection type.
Avoid forced disassembly
A head that does not open as expected may use a sealed or model-specific design.
How to Fix a Kohler Spray Head That Is Stuck in One Mode
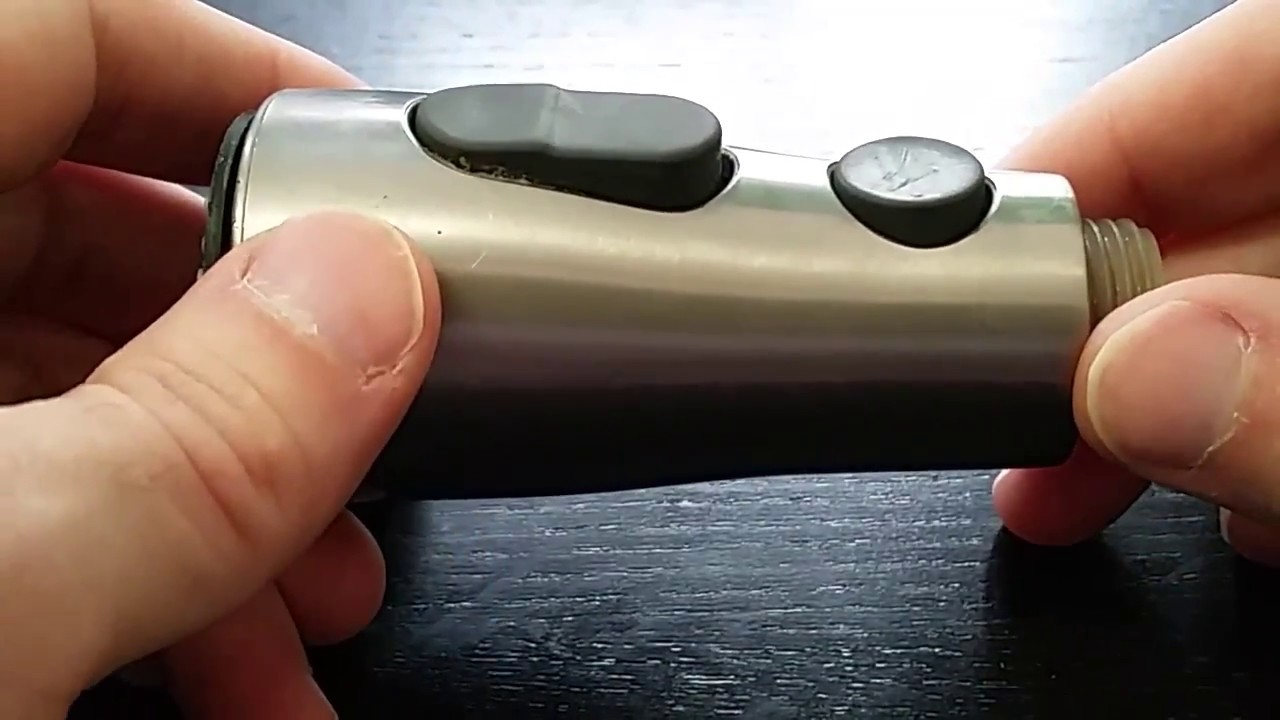
If the faucet stays in stream mode or spray mode, the selector mechanism may be jammed or damaged. The cause can be a buildup of deposits, debris inside the head, or a worn internal part. The exact repair depends on the model and how its spray selector works.
First, switch between the available modes while the water is running at a moderate flow, if the manufacturer’s instructions allow it. Do not press a stiff button with a tool or apply force that could crack the housing.
Source: i.ytimg.com
Test the selector gently
Check whether the button or switch moves freely and whether it changes the spray pattern.
Clean the outside of the control
Wipe away residue around the button without flooding openings or using harsh cleaners.
Look for model-specific instructions
Use the official product manual to determine whether the selector is serviceable or whether the head must be replaced.
Why the Spray Button May Stop Working
A selector can become stiff when deposits collect around moving parts. It can also wear out after repeated use. If the button moves normally but the spray pattern never changes, an internal switching part may have failed.
A diverter is another possible source of trouble. It directs water between outlets in faucet designs that use one. However, not every spray-mode problem is caused by the diverter, and not every Kohler model uses the same internal layout.
If the selector is broken, the head leaks internally, or the faucet requires access to parts that are not intended for user service, stop before disassembly. Check Kohler support for the model’s repair options.
Button is stiff
Start with external cleaning and approved maintenance instructions.
Button moves but mode does not change
An internal selector or water-routing fault may be present.
Head leaks while changing modes
Inspect for visible connection problems and seek model-specific repair guidance if leakage continues.
How to Find and Fix Spray Head Leaks
The location of a leak is often the best clue to its cause. Water dripping from the nozzle after the faucet is turned off may be residual water draining from the head. A steady leak that continues well after use is different and may indicate a faulty seal, valve, or other component.
Dry the head, hose, and area below the sink with a towel. Run the faucet briefly and watch where the first new drops appear. Do not reach into a wet cabinet near electrical equipment, and stop using the faucet if water is reaching an outlet or appliance.
Source: faucetfam.com
Drips from the nozzle
Check whether the water stops after residual water drains. A continuing leak may require valve or cartridge diagnosis.
Leaks at the hose connection
The connector may be loose, damaged, or fitted with a worn seal. Follow the exact model’s instructions before tightening or replacing anything.
Leaks from the hose itself
A split or damaged hose generally needs replacement with a compatible part.
Water appears beneath the sink
Inspect the supply connections and faucet hose path. The source may be unrelated to the spray head.
When a Faucet Cartridge May Be the Real Problem
A cartridge controls water flow in many faucet designs. If water continues to run or drip when the handle is fully off, the cartridge or another valve component may need attention. That is not the same as a nozzle blockage.
Cartridge access varies by model and may involve removing the handle or other parts. Shut off both supply valves first and confirm that the correct replacement cartridge is specified for the faucet. Do not remove a handle or cartridge simply because the spray head is leaking.
If the shutoff valves do not stop the water, or the handle is seized, call a qualified plumber rather than forcing parts apart.
Possible cartridge issue
The faucet continues to drip after residual water has drained or will not shut off fully.
Possible spray head issue
The leak appears at the head body, nozzle assembly, or head-to-hose connection.
What to Check When the Spray Head Will Not Retract
A pull-down or pull-out spray head should return to its resting position without excessive force. If it hangs below the spout, moves only partway, or catches under the sink, the hose path or retraction system may be the cause.
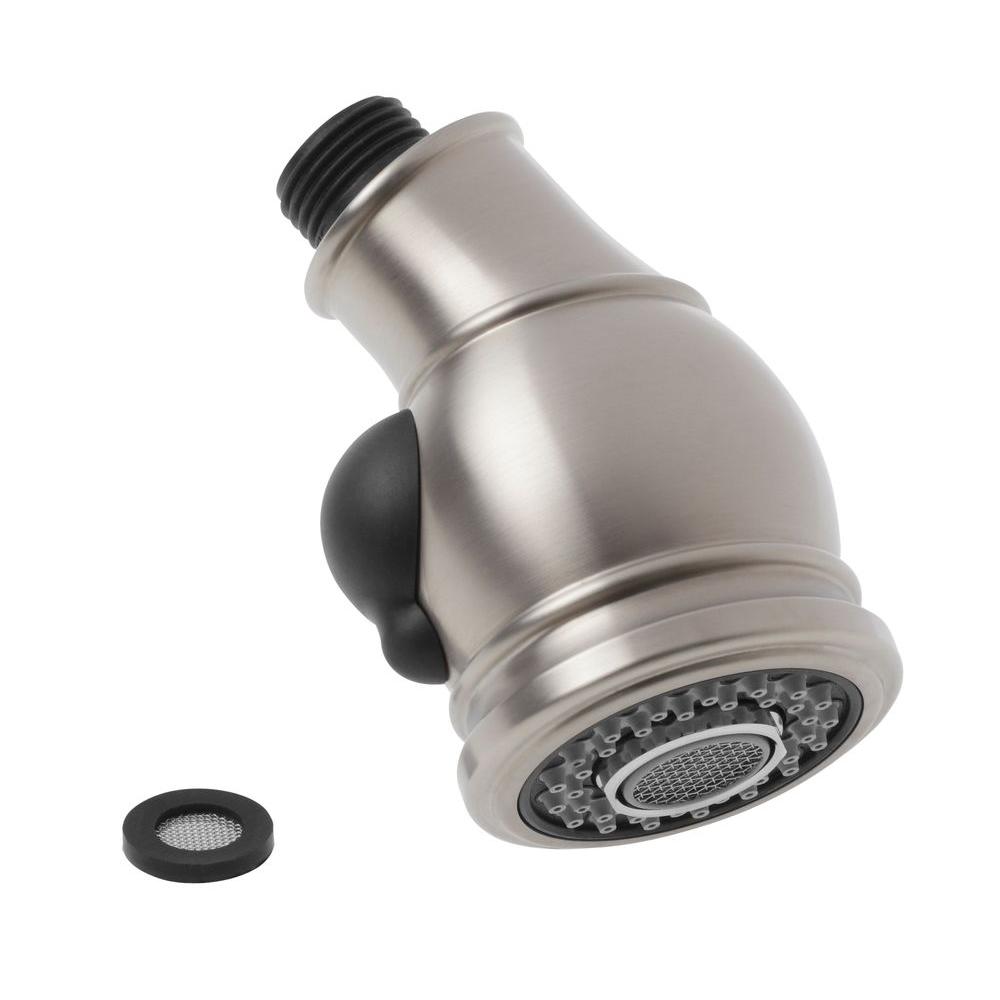
Before changing parts, clear the cabinet area below the faucet. Cleaning supplies, bins, water filters, and stored pans can catch the hose as it moves. Pull the spray head out gently and watch the hose from below, if it is safe to do so.
Source: images.homedepot-static.com
Remove obstructions
Move stored items away from the hose and allow a clear path for movement.
Look for sharp bends
A kink or twisted hose can interfere with smooth travel.
Inspect the hose weight if fitted
Some pull-down designs use a weight to help the head return. Check its position using the manual.
Check the spray head docking area
Residue or damage around the spout opening may prevent the head from seating properly.
Do Not Pull Hard on a Stuck Hose
Force can damage the hose, connector, or internal faucet parts. If the hose does not move freely after cabinet obstructions are removed, inspect the visible route and consult the model instructions.
A damaged hose or broken docking component may need replacement. If the hose connection is hidden, seized, or difficult to reach, a plumber can remove the assembly without risking damage to the faucet or sink cabinet.
Good result
The head extends and returns smoothly without catching, twisting, or leaking.
Problem remains
Check the hose weight, docking system, and model-specific service parts.
How to Remove or Replace a Kohler Spray Head
Replace a spray head only after basic cleaning and inspection fail, or when the head is visibly damaged. A compatible replacement should match the faucet model, connection, and intended use. Similar-looking heads may have different fittings or internal controls.
Before starting, gather the faucet model information, a soft cloth, a small container for water, and any tools named in the official instructions. Protect the sink finish and close the drain so small parts cannot fall into it.
Source: i.ytimg.com
Identify the exact faucet
Use product paperwork, purchase records, or official Kohler support to locate the model and matching replacement parts.
Shut off water when required
Close the hot and cold supply valves before disconnecting any water-carrying part. Open the faucet to relieve remaining pressure.
Protect the finish
Wrap the head or connector with a soft cloth when the instructions call for a tool, and use only the specified method.
Disconnect the head correctly
Follow the model’s threaded or quick-connect release steps. Do not assume every connector unscrews.
Fit the correct replacement
Seat the connector and seals as instructed. Do not use extra sealant or tape unless the manufacturer specifies it.
Test for leaks
Restore water slowly, check every connection, and test each spray mode before returning the cabinet to normal use.
When Replacement Is Better Than Cleaning
A new head may be the sensible option when the spray plate is cracked, the selector is broken, the body leaks, or cleaning does not restore normal flow. Replacement is not always necessary when the problem is a clogged screen or kinked hose.
Compare the cost and availability of the exact replacement with the condition of the rest of the faucet. If the faucet body, hose, or valve also has faults, repairing one part may not resolve the full problem.
Cleaning is worth trying first
The head is intact and the main symptoms suggest mineral buildup or removable debris.
Replacement may be justified
The head has physical damage, a failed selector, or a persistent internal leak.
Get professional help
The connector is seized, the supply cannot be shut off, or the source of the leak remains unclear.
Check Warranty and Part Compatibility
Before buying a spray head, check Kohler’s current warranty terms and support options for your specific product. Coverage depends on the product, purchase circumstances, region, and applicable warranty terms. Do not assume every part has the same coverage period.
Keep the model number, proof of purchase if available, and a clear photo of the faucet ready when contacting support. These details can help identify the correct assembly and whether an approved repair or replacement option is available.
Confirm the connection
Check the thread or quick-connect design and any required internal components.
Confirm finish and function
Match the visible finish and required spray modes where these matter to your model.
Troubleshooting by Symptom
Use this table to choose the next check based on what the faucet is doing. The causes are possibilities, not a diagnosis; a particular Kohler model may use a different internal design.
Source: faucetfam.com
Low flow only at the spray head
Clean the nozzle and inspect any serviceable inlet screen. Then check the hose for kinks.
Low flow at the whole faucet
Check supply valves and compare hot and cold flow. Investigate the supply or internal faucet components if the problem persists.
Spray shoots sideways
Clean the spray holes and inspect the spray plate for damage.
Spray mode will not change
Test the selector gently and check the manual for service or replacement instructions.
Water leaks at the head connection
Check the connector and seals after shutting off the water, following the model instructions.
Head will not return to the spout
Clear the hose path and inspect the weight and docking area if fitted.
Water keeps running after shutoff
Allow residual water to drain. If the flow continues, investigate the valve or cartridge rather than focusing only on the nozzle.
A Simple Order for Troubleshooting
Work from the easiest checks to the more involved ones. First inspect the spray pattern and hose path. Next clean the accessible nozzle and check any removable screen allowed by the manual. Only then consider disconnecting the head or replacing a component.
This order helps prevent unnecessary part purchases. It also reduces the chance of damaging a connector while trying to fix a blockage that could have been cleared from the outside.
Step 1
Record the symptom and identify the faucet model.
Step 2
Check the nozzle, hose path, and water supply.
Step 3
Clean accessible parts using approved methods.
Step 4
Test the faucet and locate any remaining leak.
Step 5
Use model-specific repair instructions or contact a plumber if the fault remains.
Safety Tips and Common Repair Mistakes
Small faucet repairs are often manageable, but forcing a part can turn a minor fault into a leak or a damaged fitting. Shut off the water before disconnecting any water-carrying component and verify that the supply is actually off before proceeding.
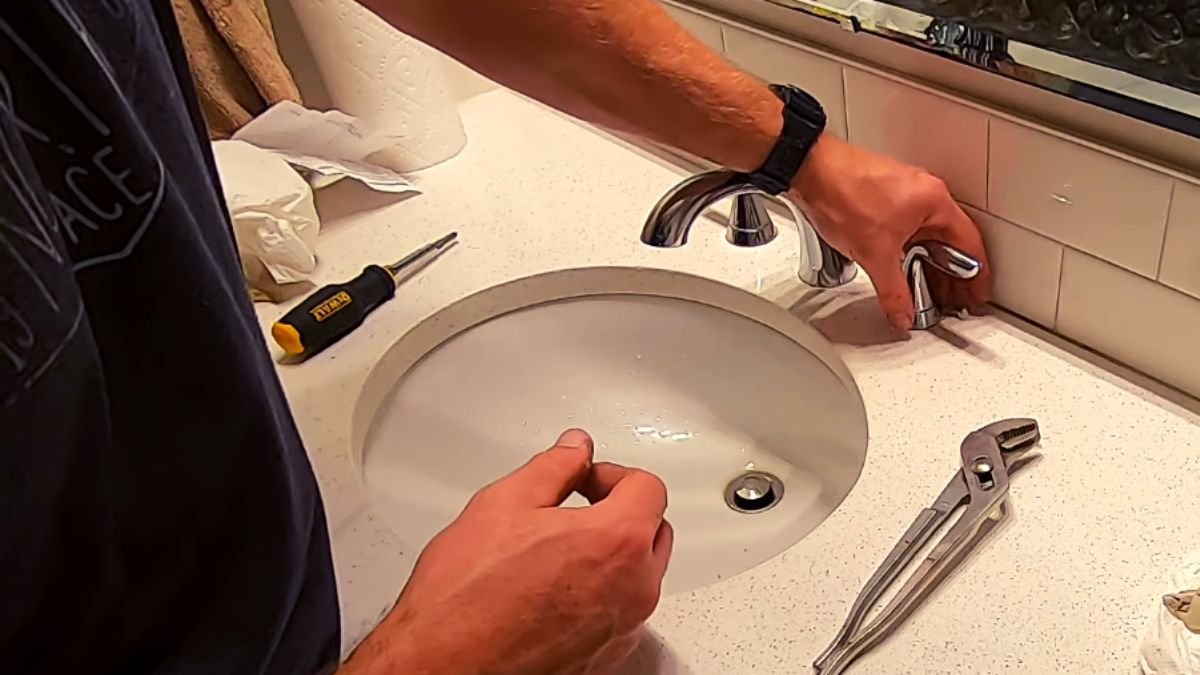
Use a bucket or towel to catch trapped water. Protect the sink and drain, and keep tools away from finished surfaces. If the faucet is mounted tightly in a cramped cabinet, stop if you cannot reach the connection safely.
Source: images.thdstatic.com
Do not force stuck parts
A seized connector or handle may need a model-specific tool or professional service.
Avoid sharp nozzle tools
Metal picks and blades can scratch the spray plate and enlarge or damage openings.
Do not mix cleaning chemicals
Follow the product label and faucet care instructions. Never mix bleach with acids or other cleaners.
Do not ignore cabinet leaks
Water under the sink can damage wood and stored items. Shut off the supply if a connection is actively leaking.
Know when to call a plumber
Get qualified help when shutoff valves fail, pipes or fittings are damaged, a leak cannot be located, or the repair exceeds your skill or tools.
How to Tell Whether the Repair Worked
After reassembly, open the supply valves slowly and run the faucet while watching the head, hose, and connections. Test hot and cold water, each spray mode, and the full movement of a pull-down or pull-out head.
Dry the connections and check them again after a short period of use. The repair is not complete if the head still leaks, the spray pattern remains abnormal, or the hose catches during normal movement.
Normal spray
The water pattern is even for the selected mode and flow is back to its usual level.
Dry connections
No new drops appear at the head, hose, or supply fittings during the test.
Smooth movement
The head extends and returns without snagging or excessive pulling.
Frequently Asked Questions
Q
Why is my Kohler kitchen faucet spray head losing pressure?
A clogged nozzle, mineral scale, a blocked inlet screen, or a kinked hose can reduce flow. First check whether the problem affects only the spray head or the entire faucet. Clean accessible nozzle openings with a soft brush, then check any removable screen and the hose path according to your model’s instructions.
Q
Can I soak a Kohler spray head in vinegar?
Only do so if the care instructions for your exact model allow it. Vinegar can help dissolve some mineral deposits, but an unapproved soak may affect finishes, seals, or internal parts. Start with a soft cloth and gentle cleaning, then follow Kohler’s model-specific guidance.
Q
Why does my Kohler spray head keep dripping after I turn off the faucet?
A small amount of water may drain from the spray head after use. If dripping continues beyond normal drainage, the cause may be a valve, cartridge, seal, or other internal component. Note how long the drip lasts and whether water continues to flow, then use the model’s troubleshooting guidance.
Q
Can I replace a Kohler spray head without replacing the whole faucet?
Often, yes, if a compatible replacement head is available for the exact faucet model. Check the model number, connection type, and required spray functions before ordering. If the hose, valve, or faucet body is also damaged, replacing only the head may not solve the full problem.
Q
Why will my Kohler pull-down spray head not retract?
The hose may catch on items under the sink, bend sharply, or have a weight that is out of position. Clear the cabinet area and inspect the hose path without pulling hard. If the head still will not return smoothly, check the model instructions for the retraction system and any serviceable parts.
Q
How do I know which Kohler spray head replacement to buy?
Find the faucet’s model number through its product records or Kohler support. Confirm that the replacement is listed for that model and matches its connector and spray functions. A head that looks similar may not fit or work correctly.
Q
Should I repair the spray head or call a plumber?
Try simple cleaning and visual checks if the water supply can be shut off safely and the instructions support the task. Call a plumber if a shutoff valve fails, a connector is seized, a hose or pipe is damaged, water leaks persist, or the fault appears to involve internal parts you cannot service safely.
✦ Wrapping Up
Conclusion
Most Kohler kitchen faucet spray head problems are easier to solve when you start with the symptom rather than replacing parts at random. Weak flow and uneven spray often call for nozzle cleaning and a check for debris. A stuck spray selector, a damaged head, or a persistent leak may need a compatible replacement or a closer look at the faucet’s internal parts.
Identify your model before removing components, follow its care and repair instructions, and shut off the water before disconnecting a fitting. If a simple cleaning does not help, use the symptom and troubleshooting steps in this guide to decide what to inspect next. Stop if a part resists force or water cannot be shut off safely.
💡 Key Takeaway
Start by checking the spray holes and hose path. If the problem remains, find the Kohler model number and confirm the correct repair or replacement part before taking the faucet apart.