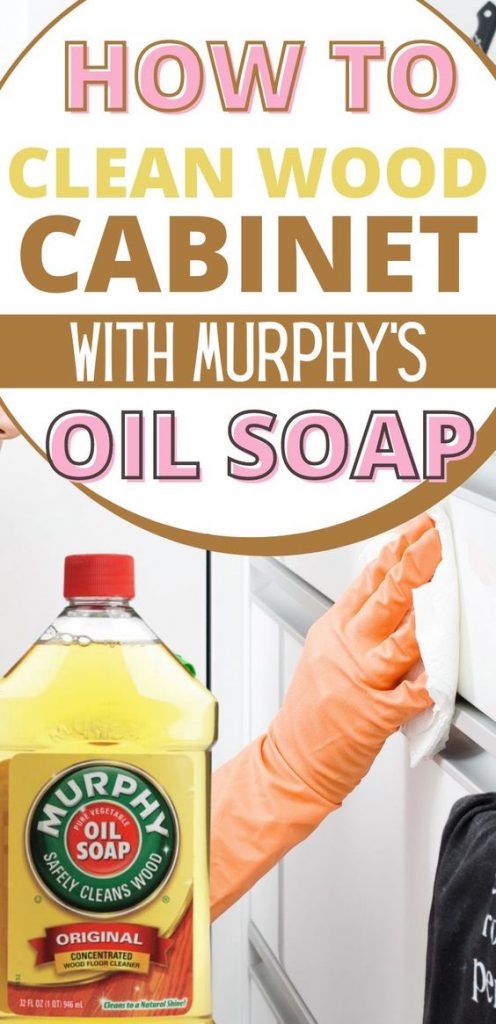
Murphy’s Oil Soap can be used to clean many finished wood kitchen cabinets when diluted as directed on the product label. Test it on a hidden spot first, use a soft cloth, and wipe away excess moisture. Check the cabinet maker’s care instructions before using it on painted, laminate, waxed, or delicate surfaces.
In American homes, kitchen cabinets face a steady mix of cooking oil, food splashes, fingerprints, and dust. Cabinets beside a stove often collect a sticky film that plain water may not remove. A gentle cleaner can help with routine care, but the right method depends on the cabinet finish.
Murphy’s Oil Soap is a wood-cleaning product commonly considered for finished wood surfaces. It may help lift everyday dirt and light grease from suitable cabinets when used according to its label. It is not a universal cabinet cleaner, a wood polish, or a fix for peeling paint, damaged veneer, or worn finishes. Start with the least aggressive cleaning method and use more only when needed.
Murphy’s Oil Soap can be a reasonable option for some kitchen cabinets made from finished wood. The key word is finished. A sound, sealed surface is generally easier to clean with a damp cloth than bare wood, a chipped coating, or an exposed edge that can absorb water.
The product’s suitability depends on the exact cleaner formula, the cabinet material, and the finish. Follow the directions on your bottle rather than relying on a cleaning recipe from an unrelated website. If your cabinet manufacturer names an approved cleaner, use that guidance first.
A suitable cleaner can remove ordinary grime and some light cooking residue. It cannot restore a worn clear coat, repair water damage, or make a failing finish sound again. If the surface turns cloudy, feels tacky, changes color, or sheds its coating during a test, stop and use the cabinet maker’s recommended care method.
Source: kitchensity.com
Best potential fit
Sound, finished wood cabinets whose care instructions allow a compatible diluted cleaner.
Use extra care
Painted, stained, glazed, laminated, thermofoil, or specialty-finished cabinets. Check the maker’s instructions and test first.
Poor fit without professional guidance
Bare wood, peeling coatings, cracked veneer, swollen particleboard, and surfaces with unknown wax or oil treatments.
What does Murphy’s Oil Soap actually do?
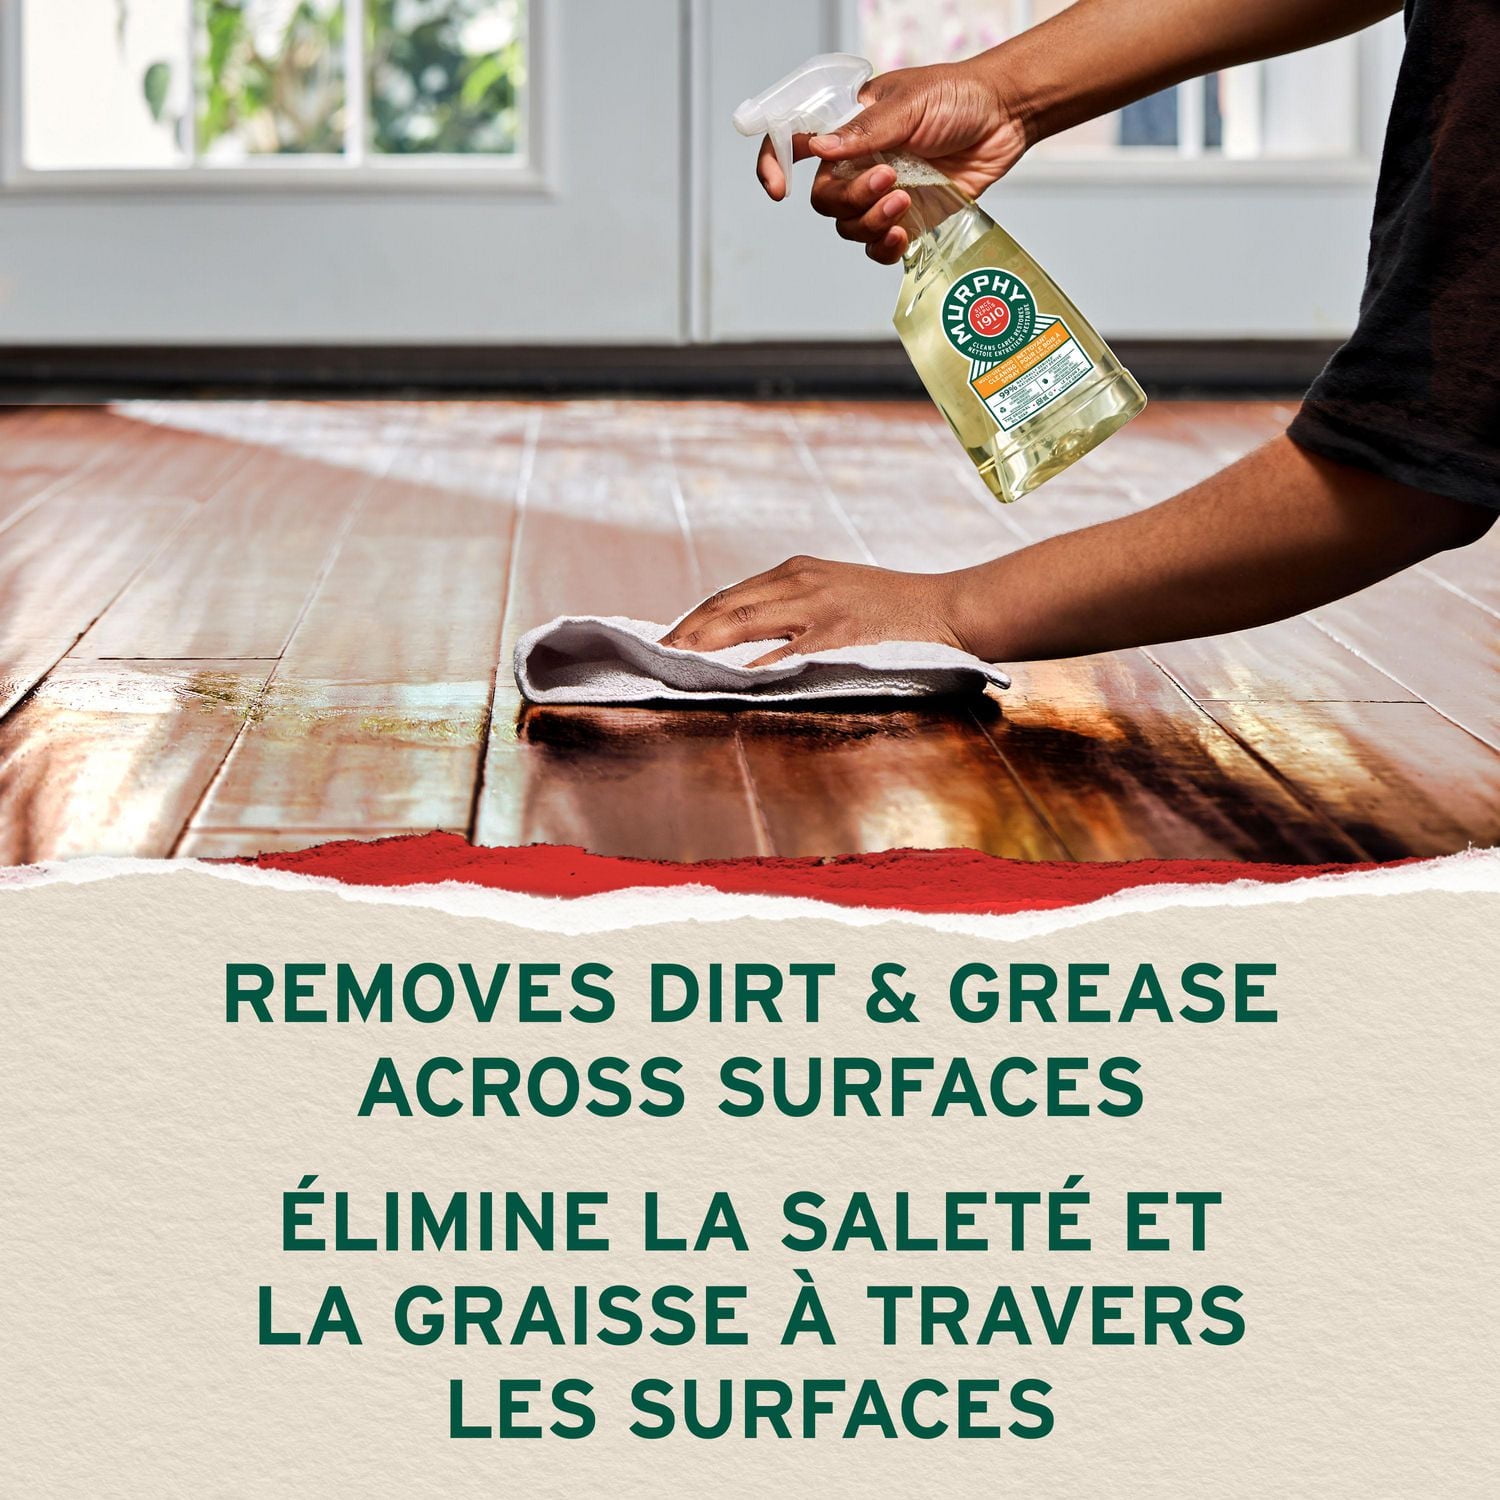
Murphy’s Oil Soap is sold as a cleaner for wood and other surfaces listed on its label. Cleaning agents help loosen soil so a cloth can lift it away. The result depends on the type of dirt, the cleaner concentration, the surface, and the amount of wiping.
The word oil in the product name does not mean that every use adds a protective oil layer to a cabinet. Do not treat it as a replacement for furniture polish, a finish repair product, or a sealant. A clean cabinet and a newly finished cabinet are two different things.
For daily dirt
A correctly diluted cleaner and a soft cloth may remove fingerprints and light grime from a compatible finish.
For old grease
A thick or hardened film may need a finish-safe degreaser and several gentle passes.
Does it work on every type of kitchen cabinet?
No. Kitchen cabinets may be made from solid wood, wood veneer, medium-density fiberboard, particleboard, laminate, or thermofoil. Their outer layers may be stained, painted, sealed, wrapped, or coated with a factory finish. The same cleaner can behave differently on each surface.
When you do not know the material, inspect an inside edge or ask the cabinet maker. A hidden spot test can reveal some problems, but it does not guarantee that repeated cleaning will be safe. Avoid using the product on a surface that the manufacturer says should only be cleaned with water or a particular approved solution.
What to Check Before Cleaning Your Cabinets
Before mixing any cleaner, check the surface, the product label, and the condition of the cabinet. A few minutes of inspection can prevent a small cleaning job from turning into a finish repair.
Look for peeling paint, raised veneer, swollen edges, cracks, worn patches, and dull or cloudy areas. These signs may mean that the surface coating is damaged or that water has reached the material beneath it. Keep liquid away from those spots and seek advice from the cabinet maker if needed.
Read the instructions on your specific Murphy’s Oil Soap bottle. Formulas and label directions can differ by product and market. Use only the dilution, surfaces, and method the label permits.
Source: i5.walmartimages.com
Check the cabinet finish
Identify whether the surface is sealed wood, paint, laminate, veneer, or another material. Do not guess when the finish is delicate or unknown.
Check the cleaner label
Confirm the approved surfaces, dilution ratio, handling instructions, and any warnings before use.
Prepare a hidden test spot
Choose a small area inside a door or another inconspicuous location that has the same finish as the visible surface.
Protect nearby items
Move food, dishes, and small appliances away from the work area. Keep the cleaner off food-contact surfaces unless the label permits that use.
How to test for finish damage
Mix a small amount of cleaner using the label directions. Lightly dampen a soft, clean cloth, then wipe a small hidden area without scrubbing. Use a second cloth dampened with clean water only if the label or cabinet maker’s instructions call for wiping away cleaner residue.
Dry the area gently and allow it to return to its normal dry state. Check for a color change, a sticky feel, cloudiness, streaks, swelling, or a change in sheen. Stop if you notice any of these signs. Do not assume that a test is successful just because the wet surface looks clean.
What supplies do you need?
You do not need a large set of tools for basic cabinet care. Use clean supplies that will not scratch the finish or spread grease from one door to another.
Murphy’s Oil Soap
Use the exact product whose label you checked, mixed at the stated dilution.
Soft microfiber cloths
Keep separate cloths for applying the cleaner and wiping away soil or residue.
A small bucket or basin
Use it to prepare the approved solution. Keep the mixture clean as you work.
Clean water
Use it for rinsing a cloth or wiping the surface when the product instructions require it.
A dry towel
Use it to remove remaining moisture from cabinet fronts, corners, and edges.
How to Clean Kitchen Cabinets With Murphy’s Oil Soap
The safest approach is to work in small sections, use a lightly damp cloth, and dry each section before moving on. This limits moisture and makes it easier to spot residue or a reaction to the cleaner.
These steps apply only when the bottle label and cabinet care instructions permit the product on your surface. If they give different directions, follow the more specific manufacturer guidance instead of this general method.
Source: topcodistributing.com
Step 1: Remove loose dirt
Wipe away dust and crumbs with a dry, soft cloth. This keeps loose grit from rubbing against the finish during cleaning.
Step 2: Prepare the solution
Measure the cleaner and water according to the bottle. Do not estimate the ratio or add extra soap to tackle a tough patch.
Step 3: Dampen a cloth
Dip a soft cloth into the mixture and wring it out well. It should feel damp, not drip when lifted.
Step 4: Clean a small section
Wipe gently with the grain on wood when the grain is visible. Use light pressure and avoid abrasive pads, stiff brushes, and hard scrubbing.
Step 5: Deal with residue as directed
If the product or cabinet instructions require a clean-water wipe, use a separate cloth that is well wrung out. Do not leave pools of solution on the surface.
Step 6: Dry the cabinet
Wipe away moisture with a clean, dry towel, paying close attention to joints, corners, lower edges, and areas around hardware.
Step 7: Inspect the result
Once dry, look for streaks, sticky spots, dull patches, or a change in color. Stop if the finish looks different and avoid applying polish until you know the surface is clean and sound.
How much cleaner should you use?
Use the dilution printed on your bottle. Do not copy a measurement from an older bottle, a social media post, or a cleaning guide that describes a different formula. If the label gives a measured amount of cleaner per volume of water, measure both rather than pouring by eye.
More soap does not always mean better cleaning. A strong mixture can be harder to wipe away and may leave a film. If a correctly mixed solution fails to lift ordinary dirt, first try another gentle pass with a fresh cloth instead of making the mixture stronger.
Avoid guesswork
Keep the cleaner-to-water ratio within the label directions.
Keep the cloth clean
Replace or rinse a dirty cloth so loosened grease is not spread over the next cabinet door.
Should you clean the cabinet doors and frames differently?
Use the same basic method on doors and frames only when both surfaces have compatible finishes. Frames can have narrow joints, carved details, and exposed end grain that hold water. Wipe these areas lightly and dry them right away.
Open doors carefully to reach the outer edges, but do not flood the inside of the cabinet. For hinges and drawer slides, follow the hardware maker’s instructions. Cleaner residue can collect around moving parts, so keep the cloth controlled and avoid spraying liquid directly into the hardware.
How to Remove Grease From Cabinets Above the Stove
Cabinets near a range or cooktop often collect airborne cooking oil mixed with dust. The film may feel sticky and can be harder to remove than fingerprints on a cabinet far from the cooking area. Start with a gentle cleaning method that is approved for the finish.
Turn off the cooking appliance and let the nearby surfaces cool before cleaning. Keep the cleaner away from flames, hot burners, electrical openings, and food. Check the appliance and cabinet instructions if you need to clean a surface close to a heat source.
Use a lightly damp cloth and make several gentle passes if needed. Do not soak the surface or attack the grease with a rough scrub pad. If the film remains, choose a degreaser that is specifically compatible with your cabinet material and finish.
Source: i.pinimg.com
For light grease
Use the approved diluted cleaner and wipe with a soft cloth. Follow with a clean-water wipe only when the directions call for it, then dry.
For sticky buildup
Repeat a gentle pass with a clean cloth rather than pressing harder. Let the cleaner work only for the time allowed by its label.
For thick, old residue
Check the finish and use a compatible degreaser if the oil soap does not work. Test the alternative on a hidden spot first.
For grease near a damaged edge
Avoid adding moisture. A cabinet maker or repair professional may need to assess swelling, lifted veneer, or a failing coating.
Why does grease sometimes remain after cleaning?
Grease can build up in layers. A damp cloth may remove the loose top layer while leaving a sticky film underneath. The result can also look worse if dissolved soil or excess cleaner dries on the surface.
Try a fresh cloth and the correct solution on a small test area. If the surface stays tacky after it is dry, stop adding cleaner. Check the label for residue-removal directions and consider whether the sticky layer is actually old polish, wax, degraded coating, or cooking oil.
Do not scrape the finish
Metal scrapers and abrasive pads can scratch paint, veneer, and clear coatings.
Do not mix products
Never combine Murphy’s Oil Soap with bleach, ammonia, acids, or another cleaner. Use one product at a time and follow its safety directions.
Should you clean the range hood first?
If grease is falling or spreading from the hood area, clean that source with its own approved method before finishing the cabinets. Otherwise, new residue can land on surfaces you have just cleaned. Keep each product within the surfaces named on its label, and do not use a cabinet cleaner on an appliance unless the appliance maker allows it.
Can You Use Murphy’s Oil Soap on Painted, Laminate, and Other Cabinets?
Do not assume that a cleaner suitable for finished wood is suitable for every cabinet that looks like wood. A painted door, a plastic laminate panel, and a wood veneer door may look similar from across the kitchen, yet they have different surface layers.
Use the cabinet maker’s care guide whenever possible. If the instructions do not name Murphy’s Oil Soap, ask the maker or test only if the surface guidance allows a mild cleaner. A hidden test can help identify an immediate reaction, but it cannot prove long-term compatibility.
Source: cleaningcarekits.com
Finished solid wood
May be suitable when the finish is sound and the manufacturer permits the product. Avoid standing water and dry the surface after cleaning.
Wood veneer
Use very little moisture, especially at seams and edges. Water can weaken the bond or cause the underlying panel to swell if it enters a damaged area.
Painted cabinets
Check the paint or cabinet maker’s cleaning instructions. Strong cleaners, excess rubbing, or repeated wetting may affect some coatings.
Laminate cabinets
Use a cleaner approved for the laminate. Keep water away from joints, seams, and exposed core material.
Thermofoil doors
Follow the door maker’s care guidance. Avoid excess heat, aggressive scrubbing, and moisture that may enter lifted edges.
Waxed or oil-treated wood
Ask the finish maker which cleaner is safe. A product intended for other wood finishes may alter the appearance or remove part of the surface treatment.
Unfinished wood
Do not use a water-based cleaning mixture without suitable guidance. Bare wood can absorb liquid and develop stains or raised grain.
What about white kitchen cabinets?
White cabinets show grease, fingerprints, and cleaner streaks more readily than many darker finishes. Their color alone does not tell you which cleaner is safe. A white painted door, a white laminate panel, and a white thermofoil door need not have the same care requirements.
Test the actual finish in a hidden area and inspect it after it dries. Use a clean cloth to avoid transferring dirt from darker or greasier surfaces. If yellowing remains after normal cleaning, do not assume it is grease; aging, heat exposure, and finish changes can also affect color.
What about antique or high-value wood cabinets?
Older cabinets may have shellac, wax, oil, varnish, lacquer, or a finish that has been repaired over time. Some coatings are sensitive to water or household cleaners. Avoid experimenting on an antique or valuable cabinet when its finish is unknown.
Use the documented care method if one exists. Otherwise, seek advice from a furniture conservator or a professional who works with the specific finish before cleaning a large visible area.
Common Mistakes That Can Leave Cabinets Sticky or Damaged
Most cabinet cleaning problems come from using the wrong product, too much liquid, too much pressure, or too little drying. A cleaner that seems mild can still cause trouble when it is used on an incompatible coating or allowed to sit in a seam.
If the cabinet looks worse after cleaning, stop rather than applying another product to cover the change. Adding polish or oil can hide the symptoms for a short time while making the real problem harder to identify.
Source: i5.walmartimages.com
Using too much soap
An overly strong mixture may leave a film. Follow the label and do not increase the concentration when dirt is stubborn.
Leaving water on the surface
Water can seep into joints, veneer edges, and damaged coatings. Use a wrung-out cloth and dry the cabinet promptly.
Scrubbing with rough materials
Scouring pads and abrasive powders may dull or scratch the finish. Choose a soft cloth instead.
Direct spraying can send liquid into seams, hinges, and panel edges. Apply the solution to the cloth when the label permits that method.
Skipping the test spot
A small test can reveal an immediate color or sheen change before the whole cabinet is treated.
Mixing cleaning chemicals
Combining products can create hazardous reactions or fumes. Do not mix cleaners, and ventilate the room as directed on the labels.
Applying polish before removing residue
Polish can trap dirt or make a sticky film harder to remove. Confirm that the surface is clean and dry before considering a finish-compatible polish.
How to fix a sticky cabinet after cleaning
First, stop using the cleaner and allow the surface to dry. Check whether the sticky feel is limited to one spot or covers the entire door. A broad film may point to excess product or loosened grease, while a local change could indicate a damaged finish or an old coating.
If the cabinet maker’s instructions permit it, wipe a small test area with a clean cloth dampened with plain water, then dry it at once. Do not repeat this on water-sensitive finishes or damaged edges. If the stickiness remains, consult the cabinet maker before trying a solvent, degreaser, or polish.
How to respond to streaks or cloudy patches
Wait until the surface is fully dry before judging the result. If the product label permits a clean-water wipe, test that method in a hidden area and dry the spot. Avoid polishing a cloudy patch until you know whether it is residue or a change in the finish itself.
A finish that remains dull, pale, rough, or cloudy may need professional assessment. Repeated cleaning will not repair damage caused by moisture, abrasion, or chemical exposure.
Murphy’s Oil Soap vs. Other Kitchen Cabinet Cleaners
The right cleaner depends on the soil and the finish, not on which product has the strongest scent or the most appealing label. A mild, finish-approved cleaner is often a sensible starting point for routine dirt. Heavy grease may call for a compatible degreaser, while some delicate finishes need only the method named by the manufacturer.
The table below compares common cleaning approaches in general terms. It does not establish that any one product is safe for every cabinet. Always check the cabinet and cleaner labels before choosing a method.
Source: i5.walmartimages.com
Which cleaning method should you choose?
Use the least aggressive method that removes the soil. If plain water and a soft cloth are permitted and work well, there may be no need to use a stronger cleaner. When you need more cleaning power, move to a product that is specifically approved for the finish rather than increasing the amount of soap.
Murphy’s Oil Soap
A possible option for compatible finished wood when used according to its label. Check the finish and test first.
Plain water on a cloth
A useful first step for light dust or fresh splashes on surfaces whose care instructions permit damp wiping. Use little moisture and dry the surface.
Mild, finish-approved detergent
May suit certain washable surfaces when the cabinet maker allows it. Avoid adding extra detergent that could leave a film.
Cabinet-safe degreaser
May help with persistent cooking grease if the label explicitly permits use on the cabinet’s material and coating.
Furniture polish
Not a substitute for removing grease and soil. Use only if the finish maker recommends it and the surface is clean and dry.
Is Murphy’s Oil Soap better than vinegar?
Neither product is automatically better for every cabinet. Vinegar is acidic, and its suitability depends on the surface and the cabinet maker’s guidance. Do not assume that a homemade vinegar mixture is harmless on wood finishes, stone nearby, metal hardware, or other kitchen materials.
For a finished wood cabinet, use the product approved for that finish and test it first. Never combine vinegar with another cleaner in an attempt to increase cleaning power. Choose one method, follow its directions, and stop if the surface reacts.
How Often Should You Clean Kitchen Cabinets?
Clean cabinet fronts when they become dirty rather than following a strict schedule that ignores how you use the kitchen. A household that cooks daily may see more grease around the range than a household that rarely fries food. Cabinet color, ventilation, pets, children, and the location of the doors also affect how quickly dirt shows.
A quick wipe of fresh splashes is often easier than removing a thick film months later. For routine care, use a dry or lightly damp soft cloth when appropriate, and reserve a compatible cleaner for areas that need it. More frequent use of a cleaning product is not always better, especially on delicate finishes.
Source: i5.walmartimages.com
Fresh spills
Wipe them up promptly with a method approved for the surface. Do not let moisture sit on exposed edges.
Fingerprints and light dust
Use a clean soft cloth. Add an approved cleaner only if dry wiping does not remove the soil.
Grease-prone areas
Check the cabinets around the stove and range hood more often, especially after cooking that creates oil splatter.
Seasonal deeper cleaning
Inspect door edges, handles, and corners, then clean only where needed. Avoid soaking or repeatedly treating the whole cabinet run without a reason.
How can you keep cabinets clean for longer?
Use the range hood as directed when cooking, wipe spills before they dry, and clean greasy hands before opening cabinet doors. These habits reduce the amount of soil that reaches the finish. They also make routine cleaning faster.
Keep cabinet handles and the area around the stove in view when wiping down the kitchen. If grease returns quickly, look for the source rather than relying on more frequent or stronger cleaner use. A clean hood filter and better control of cooking splatter can help reduce fresh buildup.
Safety Tips for Using Murphy’s Oil Soap in the Kitchen
Use the cleaner in line with its current label, keep the work area ventilated as directed, and store the product away from children and pets. Do not transfer the cleaner into an unlabeled bottle. The original label provides important information about handling, use, and what to do after accidental exposure.
Remove food and uncovered dishes from the cleaning area. Do not use the cabinet solution on counters, cutting boards, utensils, or other food-contact surfaces unless the product label specifically permits that use. If a nearby surface needs cleaning, select a method approved for that material.
Avoid mixing Murphy’s Oil Soap with bleach, ammonia, vinegar, or any other cleaner. Use one product at a time and follow the instructions for rinsing, if any. If the cleaner contacts your eyes or causes a reaction, follow the label’s first-aid instructions and contact a poison control center or medical professional when appropriate.
Source: housedigest.com
Wear protection when the label calls for it
Follow the product’s directions for gloves, eye protection, ventilation, and other handling precautions.
Keep the floor dry
Wipe up drips promptly so the work area does not become slippery.
Keep cleaner out of reach
Store it in its original container in a secure location after use.
Do not use on an unapproved surface
A cleaner suitable for one material may harm another. When the label is unclear, ask the manufacturer before use.
What if the cabinet finish is already damaged?
Do not try to clean away peeling paint, swollen board, lifted veneer, or deep cracks with more liquid. Those are signs of a surface or material problem, not ordinary dirt. Further wetting can worsen damage around edges and joints.
Stop cleaning the affected area and let it dry under normal room conditions. Ask the cabinet maker or a qualified repair professional about the right next step. If a cleaner has caused a visible change, keep the product information available so the professional can identify what was used.
Frequently Asked Questions
Q
Can I use Murphy’s Oil Soap on kitchen cabinets every day?
Daily use is usually unnecessary and may not suit every finish. Wipe away fresh dirt with a soft cloth and use Murphy’s Oil Soap only when the cabinet maker permits it and cleaning is needed. Follow the bottle directions and avoid repeatedly wetting the same surface.
Q
Do I need to rinse Murphy’s Oil Soap off kitchen cabinets?
Follow the directions on your exact product label and the cabinet maker’s care instructions. If a clean-water wipe is required, use a well-wrung cloth and dry the cabinet promptly. Do not leave visible residue or standing water on the surface.
Q
Can Murphy’s Oil Soap remove years of kitchen grease?
It may remove some grease from a compatible finish, but old, thick buildup can need a cabinet-safe degreaser. Start with the mildest approved method and use gentle passes. If the residue remains, check the finish and select a cleaner specifically approved for it rather than increasing the soap concentration.
Q
Will Murphy’s Oil Soap make my cabinets shiny?
Cleaning can make a dirty surface look clearer, but the product should not be treated as a guaranteed polish or finish restorer. Shine depends on the cabinet coating and its condition. If a finish looks dull after cleaning, check for residue or damage before applying another product.
Q
Can I use Murphy’s Oil Soap on painted kitchen cabinets?
Only when the paint or cabinet maker’s care instructions allow it. Some painted finishes are more sensitive to cleaners and repeated rubbing than others. Test a hidden area, use the approved dilution, and stop if the paint changes color, sheen, or texture.
Q
Can Murphy’s Oil Soap damage wood cabinets?
It can cause problems if used contrary to the label, on an incompatible finish, or in a way that leaves excess moisture on the wood. Bare wood, damaged coatings, veneer seams, and exposed panel edges need special care. Testing a hidden spot and drying the surface promptly can reduce risk, but they do not replace manufacturer guidance.
Q
Can I mix Murphy’s Oil Soap with vinegar or bleach?
No. Do not mix it with vinegar, bleach, ammonia, or other cleaning products. Mixing cleaners can create hazardous reactions or fumes, and the combination may damage the cabinet finish. Use one approved product at a time and follow its label.
✦ Wrapping Up
Conclusion
Murphy’s Oil Soap can help clean many finished wood kitchen cabinets when the product label and cabinet maker permit its use. The best results come from using the right dilution, a soft cloth, light pressure, and very little moisture. A careful test spot is worth the extra minute.
For cabinets with heavy grease, peeling paint, swollen edges, or an unknown finish, do not assume that more soap will solve the problem. Choose a cleaner that matches the surface, or ask the cabinet maker for guidance. Gentle cleaning and prompt drying are better than risking a costly finish repair.
💡 Key Takeaway
Check the cabinet care instructions and your Murphy’s Oil Soap label, test a hidden spot, clean a small area with a well-wrung soft cloth, and dry it fully before continuing.