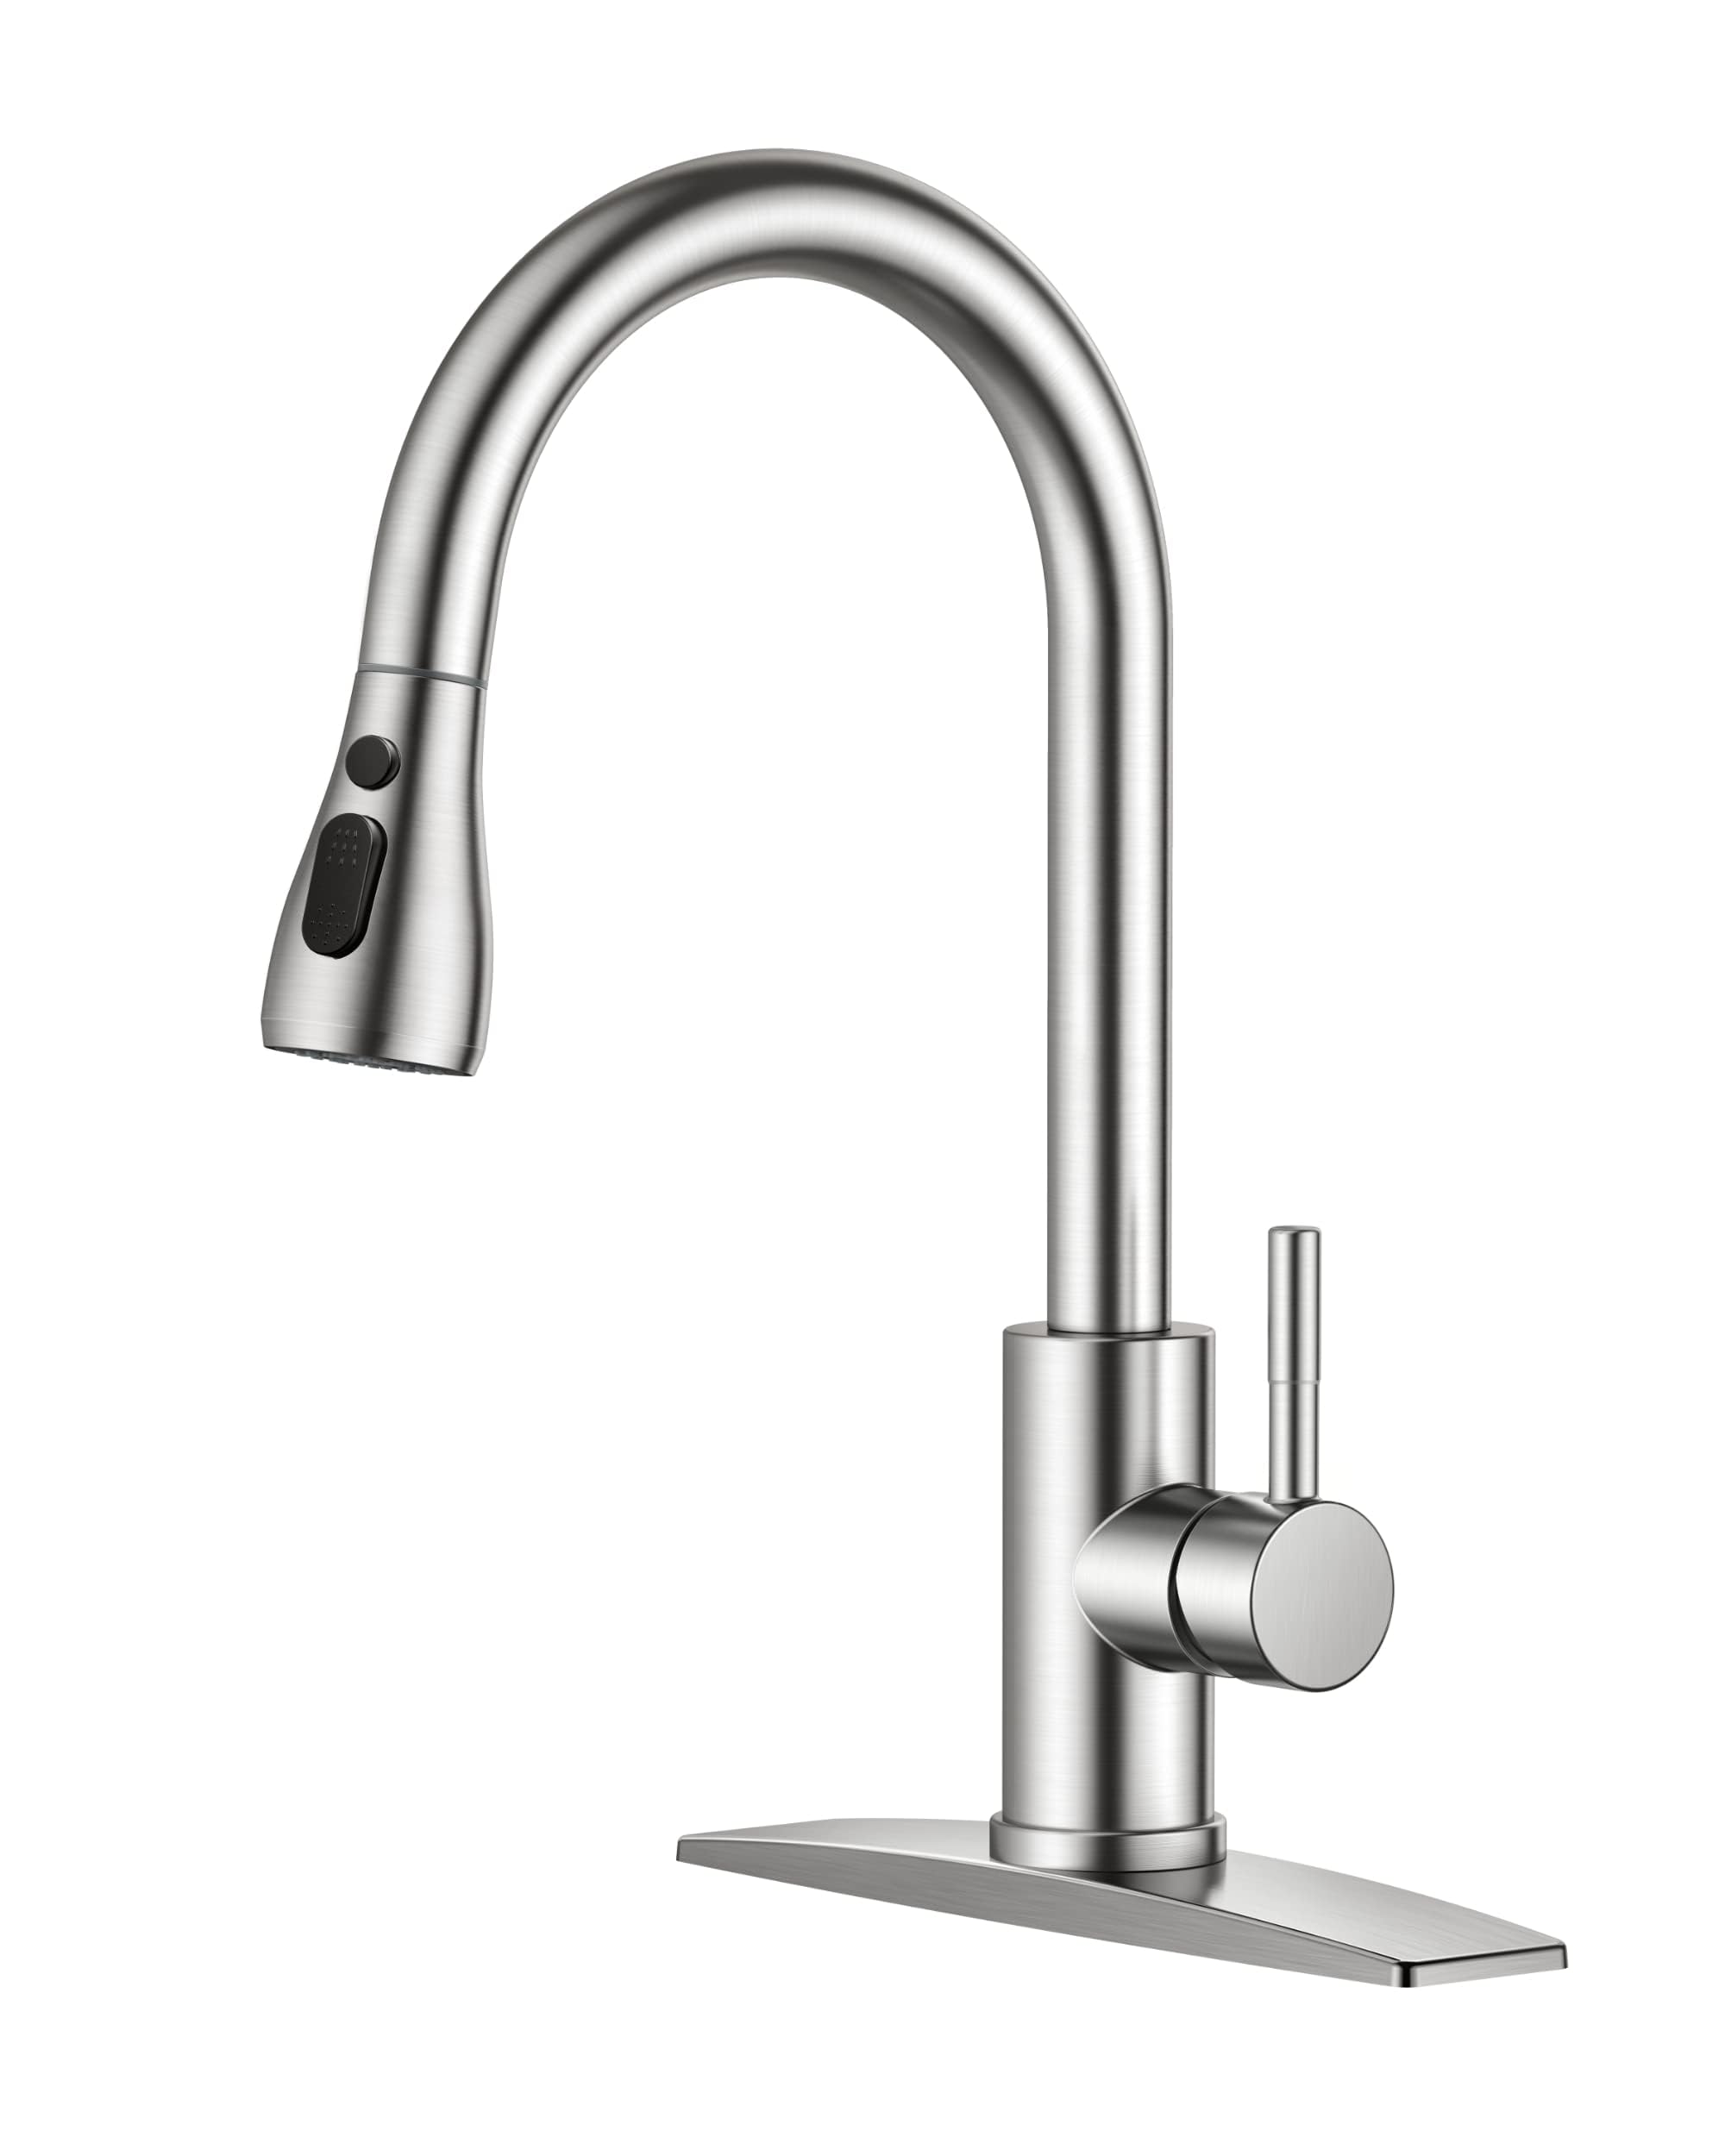
A kitchen faucet handle controls water flow, temperature, or both. To fix a loose, stiff, or leaking handle, first identify your faucet type, shut off the water when needed, and check the handle screw, cap, cartridge, and other parts. The right repair depends on the faucet model and the cause of the problem.
In homes across the United States, a kitchen faucet gets used many times each day. It helps with washing dishes, filling pots, rinsing food, and cleaning the sink. A handle that sticks or comes loose can make these simple jobs harder. A small drip near the handle can also point to a worn part inside the faucet.
The term handle kitchen faucet can refer to a faucet with one lever, two separate knobs, or a design with a pull-down spray head. These styles do not all use the same parts. Before you buy a replacement handle or start a repair, check the faucet brand, model, handle shape, and mounting style. This guide explains how to choose a handle, fix common problems, and know when a repair calls for a plumber.
A handle kitchen faucet is a sink faucet with one or more controls that regulate water flow and temperature. The handle connects to an internal valve or cartridge. Moving the handle changes how water passes through the faucet and, on many designs, how much hot and cold water mixes.
The handle is only one part of the system. The faucet body, spout, valve, cartridge, seals, mounting hardware, and supply lines also affect how the faucet works. A problem that appears to come from the handle may start deeper inside the faucet.
The best first step is to identify the faucet style and the exact symptom. A handle that wiggles but still controls water may need a simple adjustment. A handle that turns freely without changing the water flow may have a damaged connection or valve part.
Source: images.thdstatic.com
Handle
The part you grip or move to turn the water on and off or change its temperature.
Valve or cartridge
The internal part that regulates water flow and, in many faucets, controls the mix of hot and cold water.
Handle screw or retaining fastener
The part that secures the handle to its stem or mounting point. Its location and shape vary by model.
Decorative cap
A cover that may hide a screw. Some handles use a small plug, while others have an exposed screw or a different fastening method.
How the Handle Controls Water
On a typical single-handle faucet, moving the lever changes the valve position. One direction may increase the hot-water mix, while another increases cold water. Lifting or lowering the lever often controls flow, though the movement pattern depends on the design.
On a double-handle faucet, the hot and cold handles control separate valves. Opening each valve changes the amount of water entering the spout. The water temperature depends on how the two supplies mix.
Single handle
Often easier to operate with one hand and useful when the other hand is holding a pot or dish.
Double handle
Offers separate hot and cold controls and may suit traditional or bridge-style faucet designs.
Types of Kitchen Faucet Handles
Kitchen faucet handles come in several shapes and operating styles. The right one depends on the faucet design, the space around the sink, the needs of the household, and the replacement parts available for the existing faucet.
Handle style alone does not tell you whether two parts will fit together. Two levers can look nearly identical but use different stems, screws, or cartridge connections. Treat the faucet model and part specifications as the main guide when buying replacements.
Source: images.thdstatic.com
Single-lever handle
Uses one lever to control water flow and temperature. It is common on modern kitchen faucets and can be practical for daily tasks.
Two-knob handle
Uses separate controls for hot and cold water. Each side may have its own valve or cartridge.
Pull-down faucet handle
Controls the water while a separate spray head pulls down from the spout. The spray head does not usually replace the main faucet handle.
Bridge faucet handles
Often feature two handles on a traditional faucet body. Replacement compatibility depends on the original valve and handle connection.
Touch or electronic control
Some faucets use touch activation or electronic controls alongside a conventional handle. Repair steps may differ because of sensors, batteries, or wiring.
Single Handle vs. Double Handle
A single handle can make it easier to adjust water with one hand. It also has fewer external controls to clean. However, the internal cartridge may require model-specific replacement parts if the handle becomes stiff or the faucet starts to leak.
A double-handle faucet gives separate control over hot and cold water. That design may appeal to people who prefer traditional styling or want independent knobs. It also means that the source of a problem may be limited to one side, which can help with troubleshooting.
Neither style is automatically better for every home. Consider how you use the sink, the room around the faucet, the ease of moving the handle, and the availability of compatible repair parts.
Choose one handle if
You prefer one control for flow and temperature and want a simple operating motion.
Choose two handles if
You prefer separate hot and cold controls or want a style that fits a traditional sink area.
Handle Shape and Material
Lever handles, rounded knobs, cross handles, and low-profile designs each offer a different grip. A long lever may be easier to move than a small knob for someone who finds twisting difficult, but the best option depends on hand strength, clearance, and the faucet’s operating force.
Handles may be made from metal, coated metal, plastic, or a mix of materials. The visible finish does not always reveal the material underneath. Use cleaning products approved for the faucet finish, and avoid harsh abrasives that can scratch or dull the surface.
Check grip
Look for a shape that feels comfortable and can be moved without hitting a backsplash, wall, or nearby fixture.
Check finish
Match the finish when appearance matters, but confirm the part number and fit first.
How to Choose the Right Replacement Handle
The safest way to choose a replacement kitchen faucet handle is to identify the faucet first, then match the part number and connection. Do not rely on appearance alone. A handle that fits one faucet from a brand may not fit another model from the same brand.
Start by checking the paperwork that came with the faucet. If the manual is missing, look for a model number on the original packaging, purchase record, or manufacturer parts diagram. Some model labels may be on the faucet body or underneath the sink, but their location varies.
Take a clear photo of the whole faucet and the handle from several angles. If the handle has already been removed safely, photograph the fastener and connection as well. These details can help a manufacturer or plumbing supplier identify the correct part.
Source: leftonhome.com
Brand and model
Find the exact faucet model when possible. This is more reliable than using the handle’s appearance as the only guide.
Connection type
Check whether the handle attaches with a set screw, central screw, adapter, spline, or another model-specific connection.
Handle orientation
Confirm the intended left-right or front-back movement and whether the replacement is designed for your faucet configuration.
Finish and size
Match the visible finish and physical dimensions after confirming compatibility.
Return policy
Check whether the seller accepts returns if the part does not match the faucet.
Can You Replace Only the Handle?
Yes, if the faucet body, valve, and handle connection are still in good condition and the manufacturer offers a compatible replacement. A broken lever or stripped handle connection does not always mean the entire faucet needs to be replaced.
A new handle will not solve every problem. If water leaks from the spout, the cartridge or valve seals may be worn. If the handle turns but cannot control the flow, the stem, adapter, cartridge, or internal mechanism may be damaged. Identify the failed part before ordering anything.
Handle-only repair
May work when the handle is cracked, loose, damaged, or missing and the underlying valve still works correctly.
Internal repair
May be needed when the handle moves poorly, water will not shut off, or the handle connection no longer moves the valve.
Full faucet replacement
May make more sense when the body is cracked, corrosion is severe, compatible parts are unavailable, or several major parts have failed.
How to Fix a Loose Kitchen Faucet Handle
A loose handle often points to a fastener that has worked loose or a worn connection between the handle and the valve stem. Tightening the correct screw may fix the problem, but forcing a handle or using the wrong tool can damage the finish or internal parts.
Gather a flashlight, the correct screwdriver or hex key, a soft cloth, and the faucet manual if available. Keep small screws in a cup so they do not fall into the sink or cabinet. If you need to open the faucet body, shut off both water supplies first.
Source: tiponthetrail.com
Step 1: Inspect the handle
Move the handle gently and note whether the whole handle wiggles or only a decorative cover moves. Look for a visible screw or a small cap.
Step 2: Find the fastener
Check the handle sides, rear, front, or underside, depending on the model. Remove a decorative cap only if it is designed to come off.
Step 3: Use the correct tool
Choose a screwdriver or hex key that fits the fastener fully. A loose-fitting tool may round off the screw head.
Step 4: Tighten gently
Tighten the screw until the handle is secure. Do not over-tighten it, since excessive force may strip threads or crack a plastic part.
Step 5: Test the handle
Move the handle through its normal range and check that it operates smoothly without unusual play.
What If Tightening Does Not Help?
If the screw tightens but the handle still moves freely, the handle adapter or valve stem may be worn or stripped. A damaged screw can also prevent a secure fit. Remove the handle only after confirming the correct procedure for the faucet model.
If the handle resists removal, stop rather than prying hard against the faucet body. A stuck handle may be held by mineral buildup, corrosion, or a hidden fastener. Follow the manufacturer’s removal instructions or ask a plumber for help.
Stripped screw
Replace it with the correct fastener specified for the faucet, rather than a random screw of similar size.
Worn adapter
Check the manufacturer’s parts diagram for the correct handle adapter or stem part.
Handle will not come off
Avoid hammering or heavy prying. Seek model-specific guidance if the connection remains stuck.
How to Replace a Kitchen Faucet Handle
Replacing a handle is often manageable when the replacement part matches the faucet and the fastener comes apart normally. The exact steps vary, so use the manufacturer’s instructions when they differ from this general guide.
Before starting, clear the sink and cabinet area. Have a towel ready to catch small drops, and make sure you can reach the shutoff valves below the sink. If the valves are stuck, badly corroded, or leaking, do not force them.
Source: americanstandard-us.com
Step 1: Shut off the water if required
Close the hot and cold shutoff valves before removing parts that expose the valve or cartridge. Open the faucet to relieve pressure and confirm the water has stopped.
Step 2: Protect the sink
Place a towel over the drain so a screw or cap cannot fall inside. Use a soft cloth to protect the faucet finish while handling tools.
Step 3: Remove the cap and fastener
Follow the model’s instructions to remove any decorative cap and loosen the handle screw. Keep all parts together in the order they came off.
Step 4: Lift off the old handle
Pull the handle off the connection as directed. If it is stuck, stop and check for another retaining part rather than forcing it.
Step 5: Inspect the connection
Look for a cracked adapter, damaged threads, heavy corrosion, or a worn stem. Do not install a new handle over a visibly damaged connection.
Step 6: Install the compatible handle
Place the replacement in the correct orientation, then fit and tighten its fastener according to the manual. Avoid using excess force.
Step 7: Restore and test
If the water was shut off, reopen the valves slowly. Test hot and cold operation, check for drips around the faucet and below the sink, and confirm the handle moves normally.
Signs the Replacement Worked
The handle should sit firmly, follow its intended range of movement, and control the water as designed. There should be no fresh leak around the handle, faucet base, or supply connections.
If the handle feels stiff, sits at an odd angle, or fails to turn the water off, stop using force. The handle may be installed in the wrong orientation, the connection may not be seated, or the underlying valve may need service.
Secure fit
The handle does not wobble or lift off during normal use.
Normal control
The water flow and temperature respond as expected.
No new leaks
The faucet and visible supply connections remain dry during and after testing.
How to Troubleshoot Common Handle Problems
The fastest way to troubleshoot a faucet handle is to match the symptom to the most likely cause before taking anything apart. Not every stiff handle needs a new cartridge, and not every leak near a handle comes from the handle itself.
Start with a visual check and note when the problem occurs. Does the handle feel loose all the time? Does the water keep running after the handle is closed? Does the faucet leak only when the water is on? These details help narrow the possible cause.
Source: colourwayfaucet.com
Loose or wobbly handle
Check the handle fastener and adapter. If tightening does not help, inspect the connection for wear.
Stiff handle
Mineral deposits, a worn cartridge, damaged internal parts, or a fastener problem may cause resistance. Do not force the handle.
Water drips from the spout
A worn cartridge, valve seal, or other internal component may prevent full closure. The repair depends on the faucet design.
Water leaks around the handle
The cartridge, seals, or internal valve assembly may be the source. Shut off the supplies before inspecting the internal parts.
Handle moves but water does not change
The handle adapter, stem, cartridge, or another internal connection may have failed.
Water temperature is hard to control
Check the handle’s orientation and the faucet’s documented adjustment procedure. A faulty cartridge or a hot-water supply issue may also be involved.
How to Tell a Handle Problem from a Cartridge Problem
A handle problem is more likely when the handle is loose, cracked, missing, or disconnected from the valve. The faucet may still work if you can secure the handle and the internal mechanism remains intact.
A cartridge problem becomes more likely when the handle is secure but the faucet drips after being shut off, feels unusually stiff, or fails to regulate flow correctly. These signs are not proof on their own, because different faucet designs use different valves and seals.
Before replacing a cartridge, identify the faucet model and confirm the correct part. Cartridges can differ in length, shape, ports, orientation, and retaining method. Installing the wrong one may cause poor operation or leaks.
Check the external parts first
Look at the handle, screw, cap, and visible connections for looseness or damage.
Confirm the internal part
Use the manufacturer’s parts diagram and repair instructions before removing a cartridge.
What to Do When the Faucet Will Not Shut Off
If water continues to run when the handle is fully closed, use the shutoff valves under the sink if they work normally. Turn off both supplies when the fault affects a single-handle mixing faucet or when you are unsure which side is responsible.
If a shutoff valve will not turn, begins leaking, or looks badly corroded, do not force it. If the water cannot be stopped, contact a plumber or the appropriate emergency plumbing service. A running faucet can waste water and may cause damage if the surrounding area is left unattended.
Stop the water safely
Use accessible shutoff valves only if they operate normally and can be closed without force.
Avoid improvised repairs
Do not block the spout, clamp the handle, or dismantle a pressurized valve.
Tools and Safety Steps Before a Faucet Repair
A small handle adjustment may need only the correct hand tool, but an internal repair requires more preparation. Check the manual before starting because some faucets have hidden fasteners, spring-loaded parts, or model-specific removal steps.
Water supplies under a kitchen sink may be difficult to reach, especially in a crowded cabinet. Clear the area and use a light so you can see the valves and connections. If you cannot identify which valve controls the faucet, get help before opening the assembly.
Source: mobileimages.lowes.com
Correct screwdriver or hex key
Use a tool that fits the screw fully to reduce the risk of stripping the fastener.
Soft cloth and towel
Protect the faucet finish and catch small drops during removal.
Flashlight
Help you inspect hidden screws, shutoff valves, and the underside of the sink.
Replacement parts
Have the confirmed handle, adapter, cartridge, or seals ready before dismantling the faucet.
Manufacturer instructions
Use the correct diagram and procedure for your specific faucet model.
When to Call a Plumber
Call a qualified plumber when the faucet body is cracked, the mounting hardware is severely corroded, a shutoff valve leaks, or the repair requires more force than the parts should need. Professional help is also sensible when the water supply cannot be shut off safely.
A plumber may also be useful when repeated cartridge replacements fail to stop a leak or when the faucet is part of a more complex plumbing setup. If the sink cabinet has water damage, check for damp wood, swelling, and mold-like growth and address the source of moisture.
Stop if a valve is damaged
A failing shutoff valve can turn a small faucet repair into a larger leak.
Stop if parts are seized
Heavy corrosion or a stuck handle may need specialized tools and experience.
Stop if the leak persists
Continued leaking after a correct repair may point to a damaged valve seat, faucet body, or another issue that needs inspection.
How to Clean and Maintain Faucet Handles
Regular gentle cleaning helps keep kitchen faucet handles easy to grip and free from grime. Food splashes, soap, hard-water marks, and grease can collect around the handle base and under decorative edges. Clean the faucet in a way that protects its finish.
Use a soft cloth and mild soap with water unless the manufacturer recommends another method. Rinse away soap residue and dry the surface. Avoid steel wool, rough scouring pads, and strong cleaners that may damage the finish or printed hot and cold markings.
Source: saltandumber.com
Wipe after heavy use
Remove grease and food residue before they build up around the handle and faucet base.
Clean around the handle base
Use a soft cloth or suitable soft brush to reach the narrow area where grime collects.
Dry the surface
Wipe away standing water to reduce water spots and mineral marks.
Check handle movement
Notice new stiffness, wobbling, or changes in water control before the problem becomes harder to diagnose.
Can You Use Vinegar on a Faucet Handle?
Do not assume vinegar is safe for every faucet finish. Acids can harm some coatings, decorative surfaces, and certain materials. Check the manufacturer’s care instructions before using vinegar or another descaling product.
For routine cleaning, mild soap and water are usually a safer starting point. If mineral deposits remain, use only a cleaning method approved for the faucet model and finish. Do not pour a cleaner into the handle opening or internal valve.
Follow the care guide
Confirm which cleaners are allowed for the faucet finish and any special coating.
Avoid soaking unknown parts
Do not immerse a handle or internal component in a cleaner unless the manufacturer permits it.
Common Mistakes to Avoid
Many faucet repairs go wrong because a part is forced, the wrong replacement is used, or the real source of the problem is overlooked. A careful inspection before buying parts can save time and prevent damage.
Keep the repair simple until the symptoms point to a deeper fault. A handle that needs tightening should not lead straight to a full faucet replacement, while a leaking valve should not be treated as a cosmetic handle problem.
Source: m.media-amazon.com
Buying by appearance alone
Similar-looking handles may use different adapters or screw connections. Confirm the model and part number.
Over-tightening a screw
Too much force can strip threads, damage the handle, or make later removal harder.
Forcing a stuck handle
Prying can scratch the faucet, crack a cover, or damage the valve connection.
Ignoring a leak
Water near the handle or under the sink can damage cabinets and may signal a failed seal or connection.
Replacing the cartridge without checking the model
A cartridge that looks similar may have different dimensions, ports, or orientation.
Using harsh cleaning products
Strong acids, abrasive powders, and rough pads may damage the faucet finish.
Repair or Replace the Entire Faucet?
Repair is often reasonable when the faucet body is sound, the correct parts are available, and the fault is limited to the handle, adapter, cartridge, or seal. Replacing one failed part can avoid removing a faucet that still meets the household’s needs.
Full replacement may be more practical when the faucet body leaks or cracks, several components are worn, replacement parts are no longer available, or the existing faucet does not suit the sink. Before choosing a new faucet, check the sink’s mounting holes, countertop clearance, supply connections, and any required accessories.
Do not base the decision on the handle alone. A damaged handle can be a small repair, while a badly corroded faucet may need replacement even if the handle still looks fine.
Repair
Consider this when the faucet is otherwise in good shape and the failed part is available.
Replace
Consider this when the body is damaged, multiple repairs are needed, or a compatible part cannot be found.
Frequently Asked Questions
Q
How do I know which kitchen faucet handle I need?
Find the faucet brand and model, then check the manufacturer’s parts diagram or support information. Confirm the handle connection, fastener, orientation, and finish before ordering. A photo of the faucet and its existing handle can help with identification, but appearance alone does not guarantee compatibility.
Q
Can I replace a kitchen faucet handle without replacing the faucet?
Yes. If the faucet body and internal valve are in good condition, you may be able to replace only the handle or its adapter. If the faucet leaks, will not shut off, or has a damaged stem, you may also need an internal repair.
Q
Why is my kitchen faucet handle hard to turn?
A stiff handle can result from mineral buildup, a worn cartridge, damaged internal parts, or a problem with the handle connection. Avoid forcing it. Check the manufacturer’s troubleshooting guide and identify the cause before applying any cleaner or replacing a part.
Q
Why does my kitchen faucet leak near the handle?
Water near the handle may indicate a worn cartridge, damaged seal, or problem with the valve assembly. The exact cause depends on the faucet design. Shut off the water before opening the faucet, and seek plumbing help if the leak continues or the shutoff valves are unsafe to use.
Q
Why does my faucet handle turn but the water does not stop?
The handle adapter, stem, cartridge, or internal valve may be damaged or disconnected. Close the hot and cold shutoff valves if they work normally. Do not force the handle or dismantle a pressurized faucet. If you cannot stop the water safely, contact a plumber.
Q
Are kitchen faucet handles universal?
No. Handle size, connection type, screw placement, and valve design vary by model. Even handles from the same brand may not be interchangeable. Check the exact faucet model and the manufacturer’s compatible replacement parts.
Q
How often should I clean my kitchen faucet handle?
Wipe it as needed during normal kitchen cleaning, especially after grease, food, or soap splashes. Use a soft cloth and a cleaner approved for the finish. There is no single cleaning schedule for every household, since use and water conditions differ.
✦ Wrapping Up
Conclusion
A handle kitchen faucet should be easy to operate and should control water flow without leaks. When a handle becomes loose, stiff, or damaged, start by identifying the faucet model and checking the visible handle connection. A simple fastener adjustment may solve a loose handle, while a drip or poor water control can point to a cartridge or valve problem.
Choose replacement parts by model and connection rather than looks alone. Shut off the water before internal repairs, follow the manufacturer’s instructions, and avoid forcing stuck parts. If the shutoff valves are damaged, the faucet body is cracked, or a leak continues after repair, a qualified plumber can help prevent further damage.
💡 Key Takeaway
Before buying a replacement handle, take a photo of the faucet, find its brand and model, and check the manufacturer’s parts diagram. Then match the part, prepare the right tool, and repair only what the evidence shows is faulty.