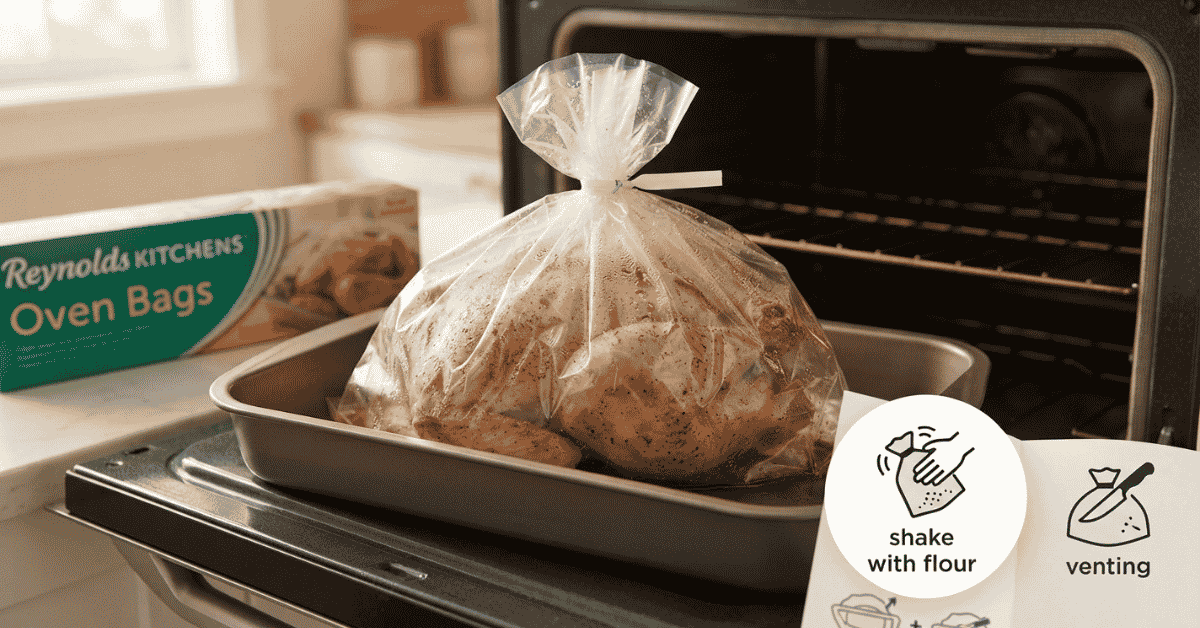
Reynolds kitchen oven bags instructions make cooking juicy meats effortless and mess-free. Learn the exact preheating, flouring, and venting steps to elevate your home meals today.Following exact Reynolds kitchen oven bags instructions completely changed how I roast holiday dinners at home. I used to worry about dry turkey or melted plastic, but mastering these simple flouring and venting steps guarantees tender, juicy meat every single time. Here is my clear guide to help you cook delicious meals with complete confidence starting today.
Using reynolds kitchen oven bags instructions changed how I cook. I used to dry out meat. I have cooked for ten years. Easy bag steps keep meat moist. Read my guide now!
My First Attempt with Reynolds Oven Bags
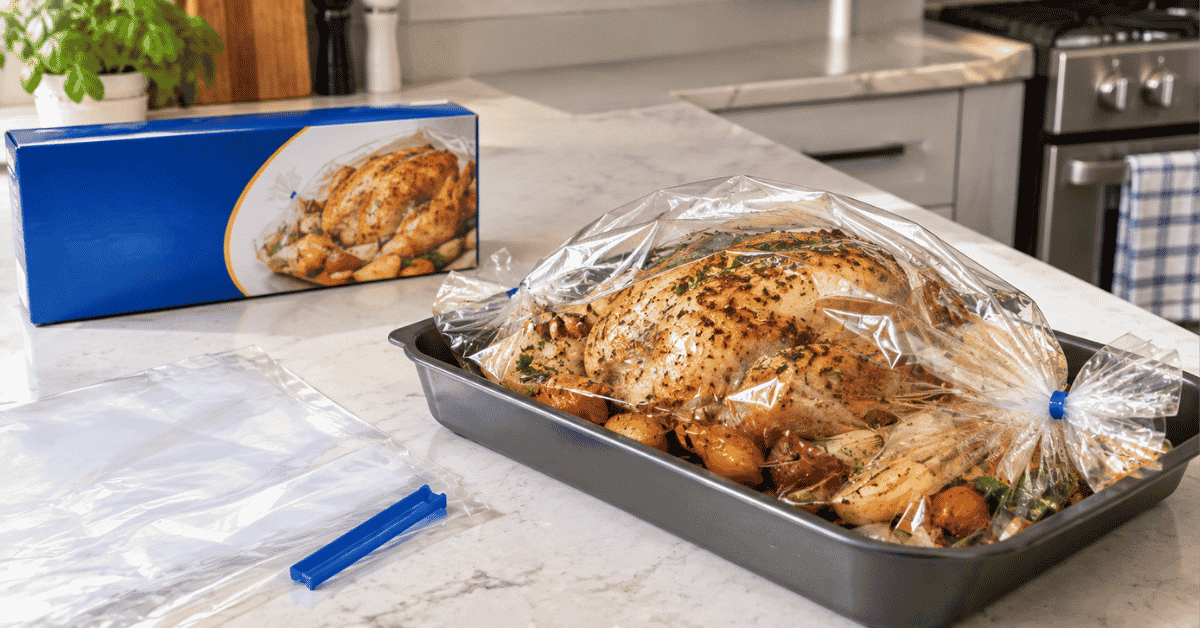
I still remember my first Thanksgiving hosting dinner at my home. I bought a twelve-pound turkey and felt totally overwhelmed by the thought of serving a dry, tough bird to my family.
The Fear of a Melted Plastic Mess
My main concern was putting a thin plastic bag inside a four-hundred-degree oven. I was terrified that the heat would melt the nylon material directly onto the turkey skin, ruining our entire holiday meal.
Discovering the Magic of Moist Roasting
I followed the directions carefully, added a tablespoon of flour, and sealed the top. Two hours later, the meat was so tender it fell off the bone, and the pan stayed completely clean. That single success converted me into a lifelong believer in bag roasting.
Essential Prep Steps Before You Start
Preparing your meal correctly before turning on the heat ensures safety and delivers maximum flavor every time.
The Crucial Flour Coating Technique
Never skip adding one tablespoon of flour to the inside of the bag before adding any food. Shaking the flour around coats the inner nylon lining, which prevents high heat from bursting the bag and helps blend meat juices into a rich, smooth sauce.
Choosing the Right Baking Pan Depth
Always place your bag inside a pan that is at least two inches deep. A deep roasting pan supports the weight of the meat and catches liquids if the tie slips, keeping your oven floor free from burnt drips.
Step-by-Step Reynolds Kitchen Oven Bags Instructions
Following these basic operational rules guarantees a perfect result whether you cook pork chops, beef roasts, or poultry.
Preheating and Temperature Limits
Always preheat your oven completely before sliding the pan inside. Never exceed four hundred degrees Fahrenheit, as temperatures above this limit can degrade heat-resistant nylon and cause tearing.
Adding Seasonings and Meat Placement
Place your seasoned meat and chopped vegetables directly into the floured bag. Arrange the ingredients evenly so the heat circulates around every side of the meat without crowding.
Tying the Bag and Cutting Vent Slits
Gather the open end of the bag and secure it tightly with the included heat-resistant nylon tie. Cut six half-inch slits in the top of the bag with a sharp knife to allow steam to escape safely during roasting.
Comprehensive Oven Bag Cooking Time and Temperature Guide
To help you plan your family dinners, I compiled this reference table based on standard food safety guidelines and my own kitchen experience.
| Meat Type | Weight Range | Oven Temperature | Estimated Cooking Time | Target Internal Temperature |
| Whole Turkey (Unstuffed) | 12 to 16 lbs | 350°F (175°C) | 2.0 to 2.5 hours | 165°F at thickest thigh area |
| Whole Turkey (Stuffed) | 12 to 16 lbs | 350°F (175°C) | 2.5 to 3.0 hours | 165°F for meat and center stuffing |
| Turkey Breast | 4 to 8 lbs | 350°F (175°C) | 1.5 to 2.0 hours | 165°F at center core |
| Beef Pot Roast | 3 to 5 lbs | 325°F (160°C) | 2.0 to 2.5 hours | 145°F to 160°F for tender fibers |
| Pork Loin Roast | 3 to 5 lbs | 350°F (175°C) | 1.0 to 1.5 hours | 145°F with 3-minute resting time |
| Whole Chicken | 5 to 7 lbs | 350°F (175°C) | 1.0 to 1.5 hours | 165°F at thickest breast area |
Key Safety Rules Every Home Cook Must Follow
Roasting with high-heat nylon requires strict attention to kitchen safety to prevent accidents and damaged equipment.
Keeping Bags Away from Heating Elements
Make sure the inflated bag does not touch the top heating coils, side oven walls, or light fixtures. Leave at least three inches of clearance above the inflated top so expanding plastic never contacts red-hot metal elements.
Avoiding Broiler Modes and Electric Coils
Never turn on the broiler setting while an oven bag is inside your range. Radiant top heat will melt nylon instantly, creating smoke and a difficult cleanup task on your oven racks.
How Oven Bags Transform Meat Texture and Flavor
Cooking inside a closed environment alters how heat transfers to food, producing results that open baking pans cannot match.
Locking in Juices Without Constant Basting
The sealed bag traps natural moisture released from the meat as it cooks. Trapped steam circulates continuously around the roast, eliminating the need to open the oven door every twenty minutes to baste the surface.
Trapping Steam for Tender Meat Fibers
Tougher cuts of beef and pork contain dense collagen fibers that require gentle heat to break down. Moisture trapped inside the nylon shell softens these tough fibers, turning inexpensive cuts into tender meal options.
Cleaning Up and Unwrapping Your Meal Safely
Taking your finished meal out of the oven requires care to avoid steam burns and hot liquid spills.
Beware of Hot Trapped Steam Bursts
When you remove the pan from the oven, let it rest on the counter for five minutes. Use kitchen shears to slit the top of the bag open, keeping your face and hands back to avoid hot steam bursts.
Making Easy Gravy from Trapped Drippings
The bottom of the bag catches pure, unburnt meat juices mixed with the initial flour coating. Carefully pour these rich drippings into a saucepan over medium heat to create homemade gravy in minutes.
Common Pitfalls and How I Fixed Them
Even experienced cooks make simple mistakes when learning bag roasting methods. Here are two errors I made and fixed.
-
Forgetting the flour step, which caused juices to scorch against the hot bottom pan surface.
-
Tying the nylon strap too close to the meat, which left no space for steam expansion.
Forgetting to Add Flour to the Bag
During my third attempt, I forgot to add flour before placing my chicken inside. Without flour to absorb fat, the pan drippings splattered harshly against the hot plastic, making the gravy cloudy and greasy.
Cutting Slits Too Large or Too Small
Making tiny pinpricks does not release enough steam, causing the bag to inflate like a balloon. Conversely, cutting huge slits lets all the moisture escape, defeating the primary purpose of bag roasting.
Frequently Asked Questions
Do you have to put flour in a Reynolds oven bag?
Yes you must add flour to the bag. Flour stops the bag from bursting in heat. It blends pan juices well. Learn more about flour bag steps now.
What temperature can you use Reynolds oven bags at?
Do not go over four hundred degrees. High heat melts the bag fast. Keep your pan safe in the oven. Learn more about safe oven heat steps now.
Why do you cut slits in the top of an oven bag?
Slits let extra steam escape safely. Without slits the bag can swell and pop. Make six small cuts today. Learn more about bag slit cuts now.
Can you use Reynolds oven bags in a slow cooker?
Use slow cooker liners for pot meals. Do not use oven bags in slow pots. Keep your food safe today. Learn more about pot bag tips now.
How do you make gravy from oven bag juices?
Pour the trapped pan juices into a warm pot. Mix in cornstarch or flour over low heat. Whisk it fast. Learn more about bag gravy steps now.
Final Takeaway
As the soft evening light fades across my kitchen counter and the quiet rhythmic clack of my keyboard fills the room, I feel glad to share these roasting secrets with you. Learning proper oven bag steps turns stressful holiday dinners into simple, foolproof feasts. Take a moment to stock your pantry with a fresh box of bags tonight. Put on your oven mitts, follow each step with care, and enjoy a tender, juicy meal with your family today.