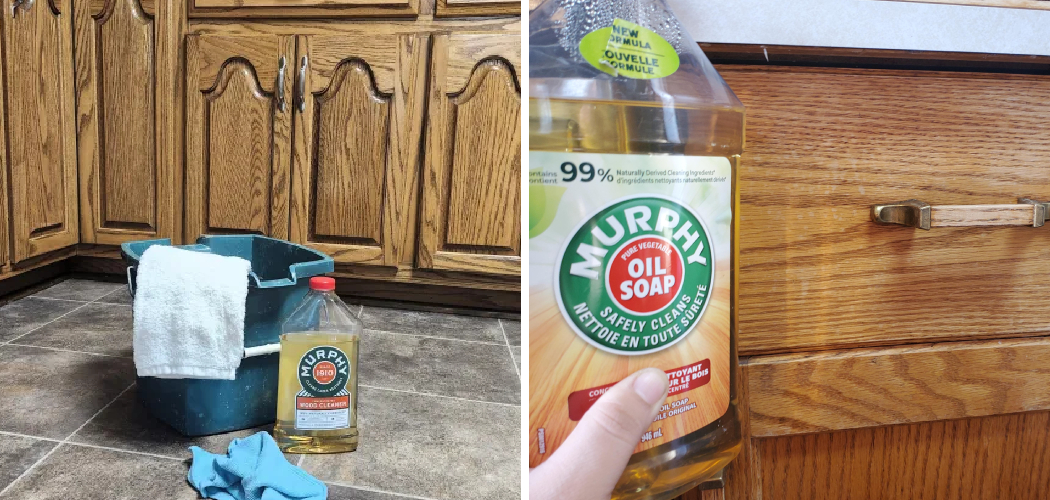
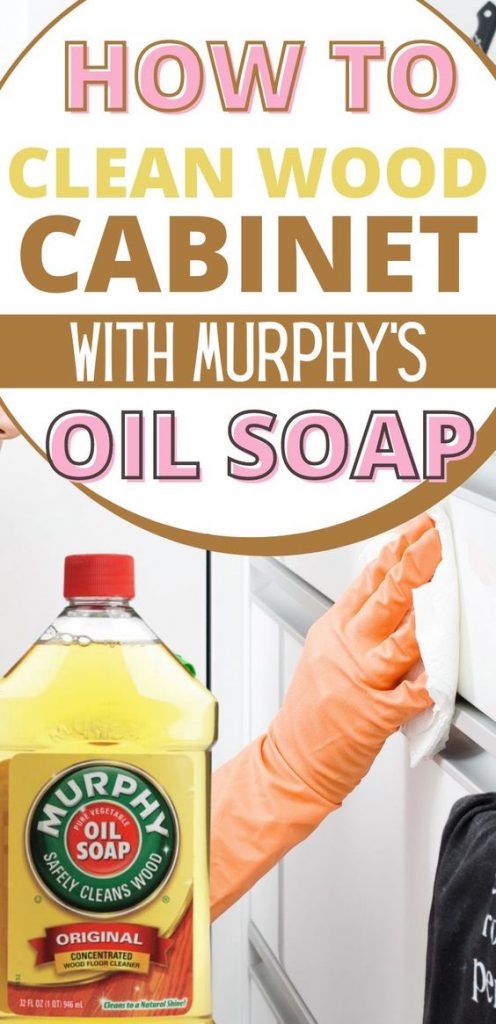
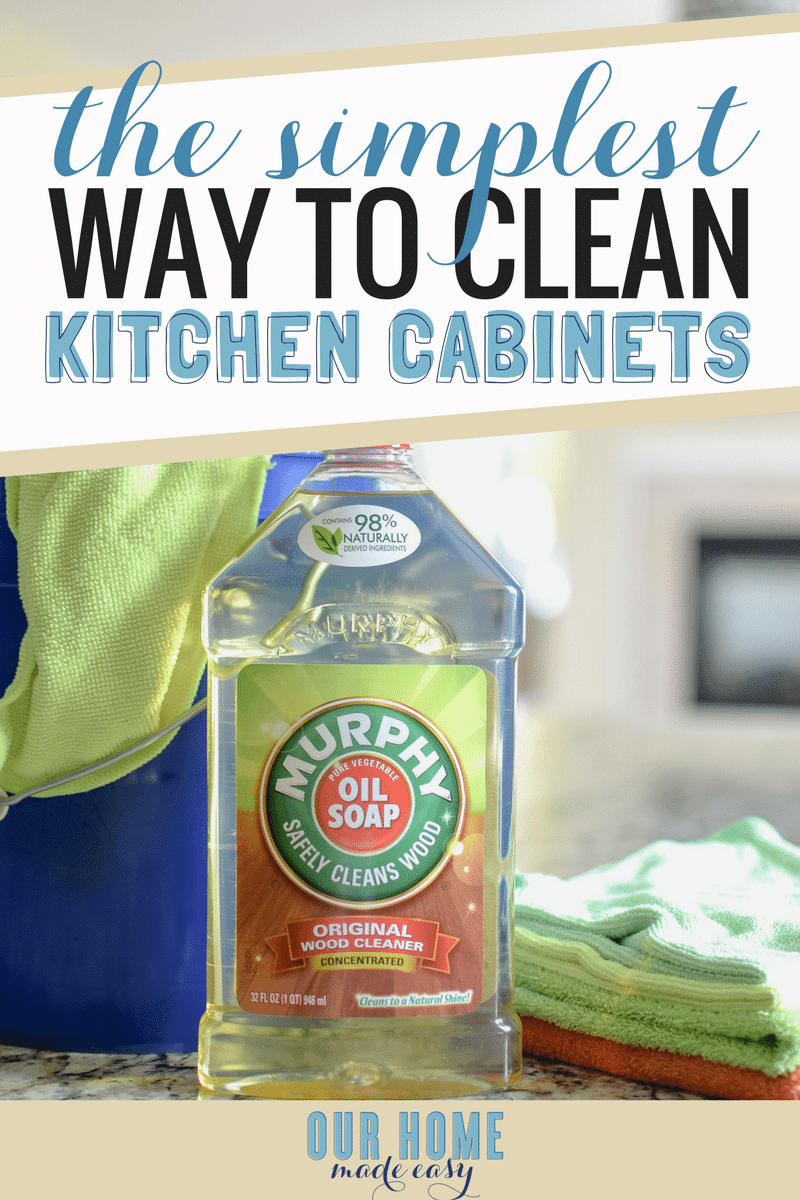
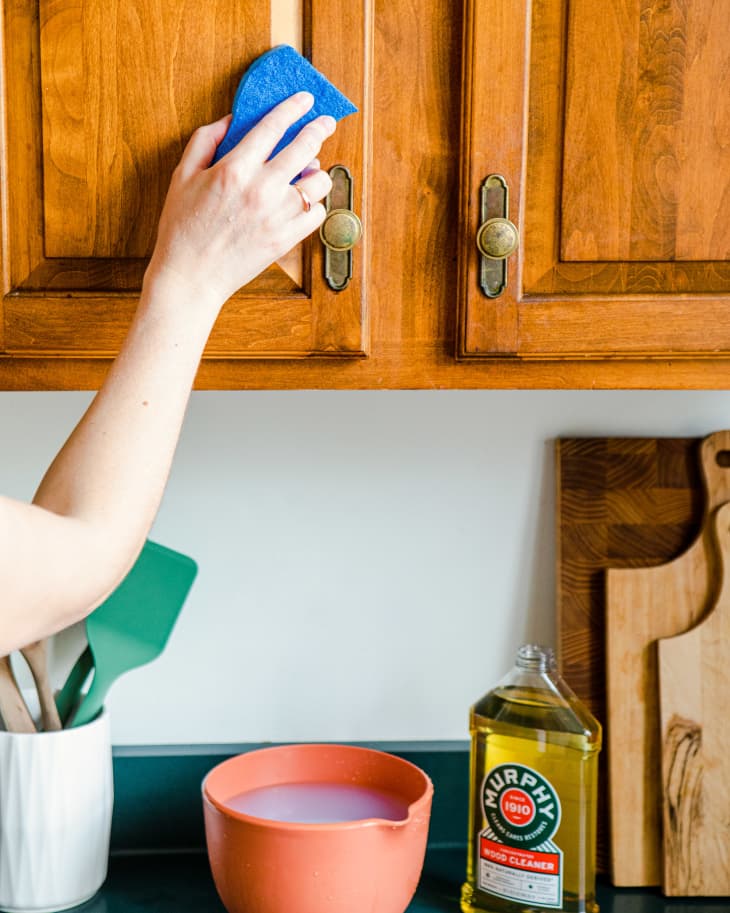
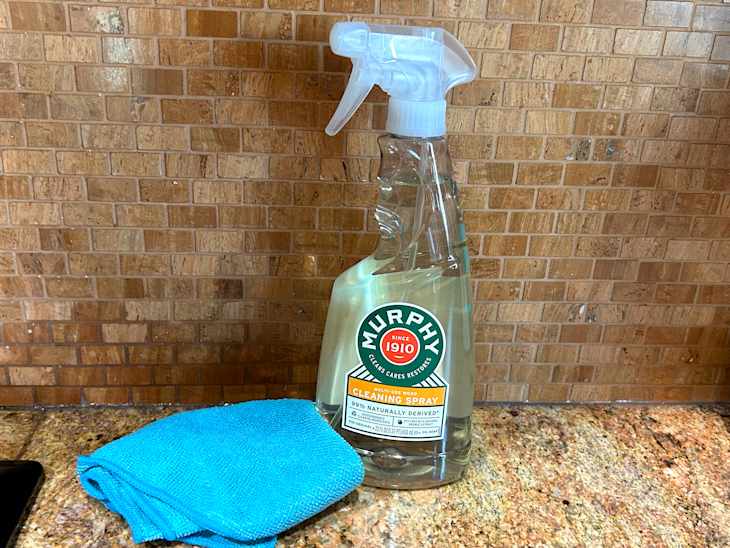
Murphy’s Oil Soap can help clean many finished wood kitchen cabinets when you dilute it as directed, use a soft cloth, and keep the surface from getting too wet. Check the cabinet maker’s care instructions and test a hidden spot first. For painted, laminate, or delicate finishes, confirm that the cleaner is suitable before use.
In American homes, kitchen cabinets face a steady mix of cooking grease, food splashes, dust, and fingerprints. Cabinets beside a stove often collect a sticky film, while doors near the sink may show water marks and handprints. A routine wipe can miss the greasy layer that builds up around knobs and door edges.
Murphy’s Oil Soap is a familiar household cleaner often used on wood surfaces. It can be an option for suitable finished wood cabinets, but the right method depends on the cabinet material, finish, and type of soil. A cleaner that works on one wood finish may not suit a painted door, an unsealed surface, or a laminate panel.
The safest approach is to check the product label, prepare the recommended dilution, and work with a damp rather than dripping cloth. Remove residue with a clean cloth when the label or cabinet care instructions call for it, then dry the surface. These steps help limit moisture and reduce the chance of streaks or damage.
Murphy’s Oil Soap may be useful for cleaning finished wood kitchen cabinets when the product directions and cabinet manufacturer’s care guidance permit it. Its role is to help loosen ordinary household soil so a cloth can lift it away. It is not a universal fix for every cabinet material, finish, stain, or sticky buildup.
The main question is not simply whether the cabinet is made from wood. Many cabinet doors have a protective coating, paint, veneer, or another surface layer. That top layer determines how the cabinet responds to moisture and cleaners. A product suitable for one finish can leave marks or cause trouble on another.
For routine dirt and fingerprints, begin with the least aggressive method that works. A soft cloth dampened with water may be enough. If the cabinet maker permits a suitable household cleaner, follow its label and test first. Heavy grease may need several gentle passes rather than a stronger mix.
Source: materialsix.com
Best potential use
Routine soil on compatible, sealed wood surfaces when the product label allows the intended use.
Use extra care
Painted cabinets, older finishes, veneer, and surfaces with unknown coatings need a hidden-spot test and careful review of care instructions.
Avoid assuming compatibility
Unsealed wood, damaged coatings, and specialty finishes may need a different cleaning method approved by the maker.
What Murphy’s Oil Soap Does and Does Not Do
A soap-based cleaner can help loosen dirt and greasy residue so wiping can remove it. The result depends on the soil, the surface, the concentration, and how the product is used. A clean-looking cabinet does not mean every trace of cleaner has been removed, so follow the label’s directions for wiping and rinsing.
Murphy’s Oil Soap should not be treated as a wood repair product. It cannot restore a worn finish, repair peeling paint, replace missing sealant, or reverse water damage. If the surface is flaking, swollen, or exposed down to raw wood, address the finish problem instead of adding more cleaner.
Cleaning
Helps lift compatible everyday soil when used as directed.
Not refinishing
Does not replace sanding, refinishing, or repairs when the cabinet coating has failed.
Check Your Cabinet Material Before Cleaning
Identify the cabinet surface before applying any cleaner. Cabinet doors can look similar from the front while having very different coatings and cores. When you cannot identify the material, use the cabinet maker’s instructions or start with a lightly damp cloth if that method is permitted.
Pay close attention to edges, seams, corners, and areas around handles. Moisture can enter damaged coatings or exposed edges, especially when a cloth is too wet. Never soak a cabinet door or let cleaning solution pool along the bottom edge.
Source: homeadvisorlab.com
Finished solid wood
May tolerate a suitable diluted cleaner, depending on the protective finish and the maker’s instructions.
Wood veneer
Has a thin real-wood layer over a core. Keep moisture low and avoid abrasive pads that could wear through the veneer.
Painted wood or MDF
Needs care around chipped paint, seams, and exposed edges. Check the paint or cabinet manufacturer’s cleaning guidance.
Laminate or thermofoil
Has a surface layer that may respond differently from real wood. Use only a cleaner approved for that surface.
Unfinished or waxed wood
Can absorb moisture or react to cleaners. Do not proceed without suitable care instructions.
Why the Finish Matters More Than the Wood Name
A sealed wood door and an unfinished wood door are not equally resistant to water. The sealed surface acts as a barrier, while an unfinished surface can absorb liquid and become stained or rough. Even a sealed finish may be worn, cracked, or damaged around edges.
Painted cabinets also vary. A sound, washable coating may handle a damp wipe, but older paint or a weak finish may soften, dull, or lose color with an unsuitable cleaner. The same caution applies to cabinets with decorative films or specialty coatings.
Inspect first
Look for peeling, cracks, swelling, worn corners, and exposed core material.
Follow the maker
Use the cleaning method approved for the exact cabinet finish whenever that information is available.
What You Need Before You Start
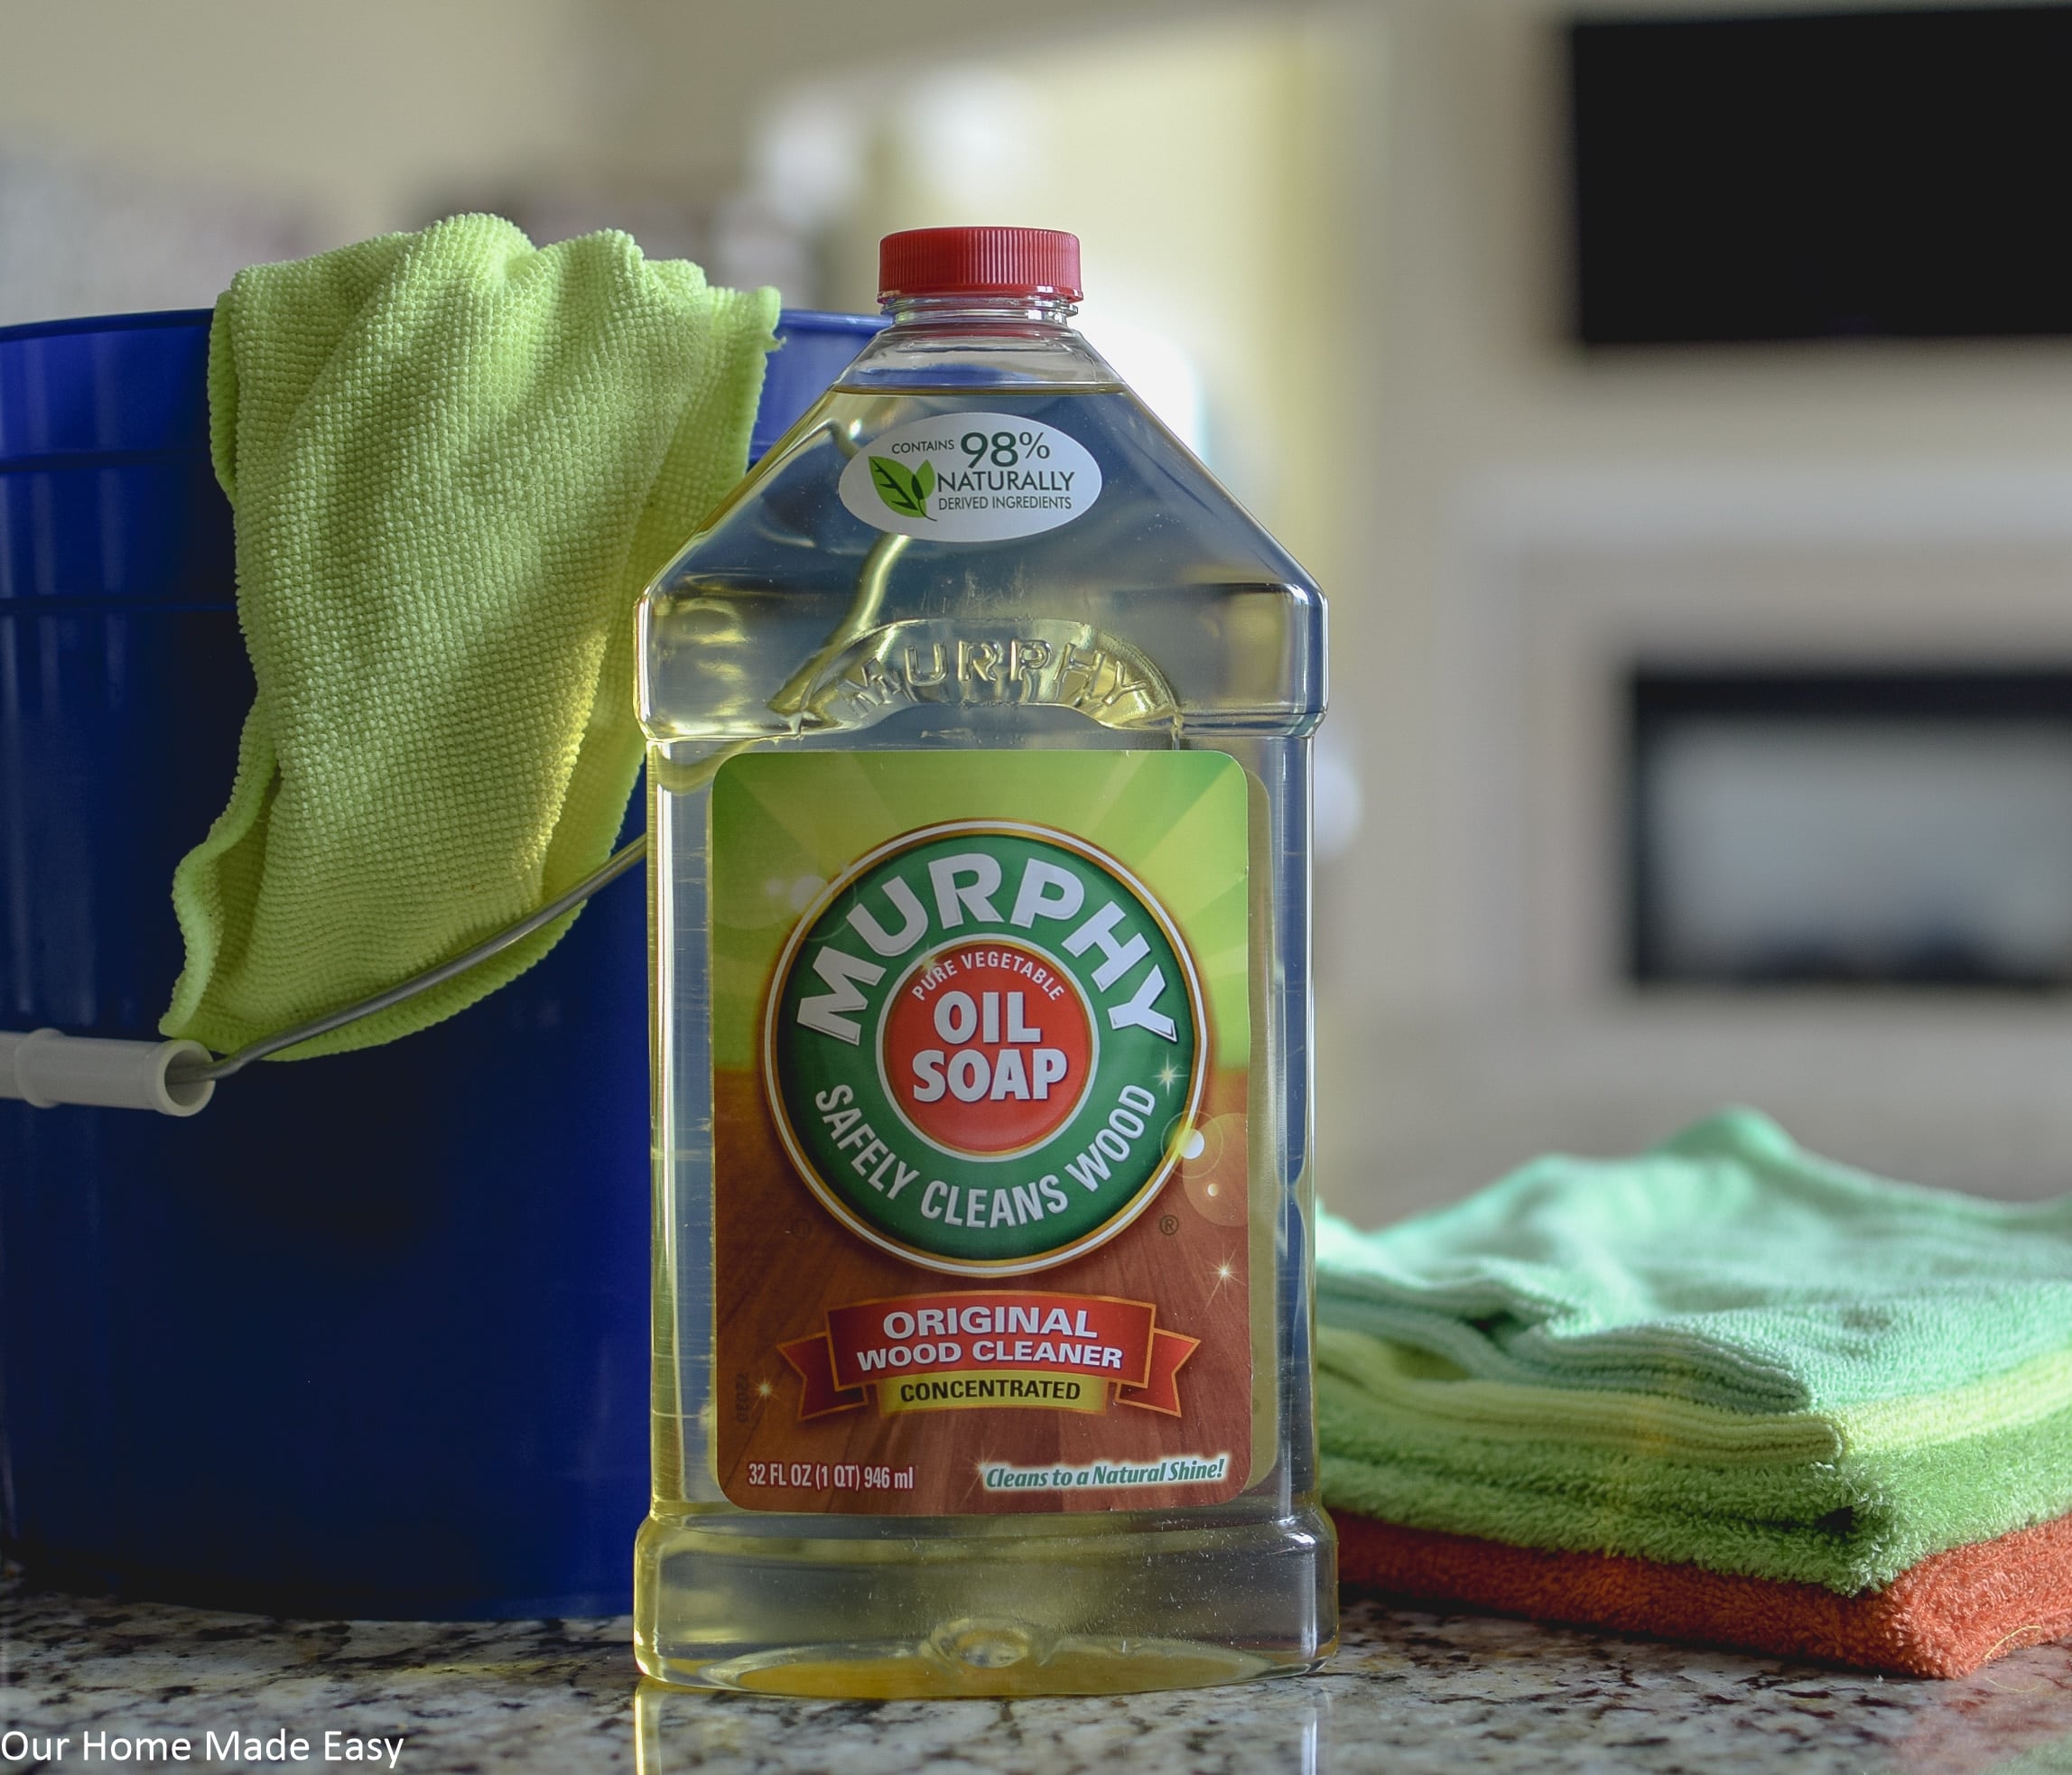
Gather the cleaning supplies before mixing the solution. A simple setup makes it easier to control moisture and wipe away loosened grime before it dries. Avoid rough scrubbers and tools that can scratch a coating or catch on a damaged edge.
Read the current product label before preparing the cleaner. Bottle directions can vary by product version, and the label is the right source for the recommended dilution, permitted surfaces, and any precautions. Do not rely on an online recipe that conflicts with the bottle.
Source: topcodistributing.com
Murphy’s Oil Soap
Use the exact product whose label you have checked for the intended cleaning task.
Soft cleaning cloths
Choose lint-free microfiber or another soft cloth that will not scratch the finish.
Clean water
Use it to prepare the labeled dilution and to wipe away residue when directed.
Small bowl or bucket
Keep the solution contained and avoid dipping a dirty cloth into the clean supply repeatedly.
Dry cloth
Use a separate cloth to remove moisture from doors, frames, and edges.
Gloves if needed
Follow the label’s precautions if you have sensitive skin or the product recommends protective gear.
Prepare a Safe Cleaning Area
Move food, dishes, and small appliances away from the cabinet area where practical. Protect nearby surfaces that could be affected by drips, and make sure the room has suitable airflow. Keep children and pets away from the bucket and wet surfaces while you work.
Do not mix Murphy’s Oil Soap with bleach, ammonia, acids, or other household cleaners. Mixing products can create hazardous reactions or unwanted residues. Use one cleaner at a time and rinse or wipe as its label directs before changing products.
Keep the mix simple
Use only the cleaner and water in the proportions stated on its label.
Protect nearby items
Remove food and dishes from the work area and prevent cleaner from contacting items that need to remain clean.
How to Use Murphy’s Oil Soap on Kitchen Cabinets
The safest method is to clean a small area at a time with a properly diluted solution and a damp cloth. Work from a less visible test spot to the main cabinet surface only after the test area dries without a change in color, shine, or texture. Stop at once if the finish becomes tacky, cloudy, rough, or discolored.
Source: ourhomemadeeasy.com
Step 1: Read the label
Check the recommended dilution, suitable surfaces, contact guidance, and any instructions about wiping or rinsing.
Step 2: Remove loose dust
Use a dry, soft cloth to lift dust and crumbs before wet cleaning.
Step 3: Test a hidden spot
Choose an inconspicuous area inside a door or another discreet location. Apply a small amount with a damp cloth and allow it to dry fully before judging the result.
Step 4: Prepare the solution
Measure the cleaner and water according to the product label. Do not make the mix stronger because the cabinet looks greasy.
Step 5: Dampen the cloth
Dip the cloth in the solution and wring it out well. The cloth should feel damp, not drip when lifted.
Step 6: Wipe gently
Clean a small section with light pressure. Pay attention to fingerprints and grime near handles, but do not scrub aggressively.
Step 7: Remove residue as directed
Use a clean cloth with water if the label or cabinet care guidance calls for wiping away the cleaner. Wring it out well before use.
Step 8: Dry the surface
Use a dry, soft cloth to remove moisture from the door face, edges, trim, and corners.
Step 9: Check the result
Once the surface is dry, look for streaks, a sticky feel, dull patches, or color changes before cleaning the next section.
How Much Murphy’s Oil Soap Should You Use?
Use the dilution printed on your bottle rather than a guessed amount. Product formulas and label instructions can change, so a recipe found in an old post may not match the cleaner you have. If the directions do not clearly cover your intended cabinet surface, contact the manufacturer or choose a cleaner specifically approved for it.
More soap does not always mean better cleaning. A concentrated mix may leave more residue and can make it harder to wipe the surface clean. If the first pass does not remove the grime, check whether the soil needs a second gentle pass rather than increasing the concentration.
Measure accurately
Follow the label’s ratio and use a measuring tool if needed.
Do not estimate by eye
An overly strong solution can leave residue and may not suit the cabinet finish.
Where to Start and How to Work
Start with the least dirty area and work toward the greasy sections. This helps keep the cloth and solution cleaner for longer. Change the cloth or solution when it becomes visibly dirty instead of spreading grime from one door to another.
For detailed cabinet doors, wipe along the shape of the panel without letting liquid collect in grooves. Use a nearly dry cloth around hinges, seams, and joints. Avoid spraying cleaner directly into hardware or cabinet gaps unless the manufacturer specifically permits that method.
Use light pressure
Let the cleaner loosen soil instead of trying to scrape it away.
Control moisture
Keep the cloth well wrung out, especially near seams, edges, and joints.
How to Remove Grease From Kitchen Cabinets
Grease near the stove can form a sticky film that holds dust and food particles. Begin by checking the cabinet finish and testing your chosen method. Use the mildest approved cleaner first, because harsh scrubbing or a strong solution may damage the coating before the grease comes off.
The area above a range hood or beside a cooktop may need more than one pass. Let the cleaning cloth do the work, then inspect the surface after it dries. If a greasy patch remains, repeat the approved method with a clean cloth instead of reaching immediately for an abrasive pad.
Source: www.thekitchn.com
Clean around handles
Finger oils build up where people pull doors open. Wipe these spots carefully and dry the edges.
Work near the stove with care
Allow nearby surfaces to cool, and keep liquid away from electrical parts and appliance openings.
Change dirty cloths
A cloth loaded with grease may spread the film instead of removing it.
Repeat before increasing strength
A second gentle pass may be more suitable than a stronger mixture or harder scrubbing.
What If the Grease Does Not Come Off?
First, check whether the cloth and cleaning solution have become dirty. Replace them if needed, then repeat the approved cleaning process on a small area. If the cabinet remains sticky after the surface has been wiped and dried as directed, stop rather than layering on more cleaner.
Old grease can mix with dust, cooking residue, and previous cleaning products. The buildup may need a cleaner designed for kitchen grease and compatible with the cabinet coating. Confirm suitability with the cabinet maker or cleaner manufacturer before switching products, and never combine products in the same solution.
Sticky after cleaning
Possible causes include leftover cleaner, grease that remains, or a finish that has changed. Wipe as directed and inspect only after drying.
Dull or cloudy patches
Stop cleaning and check the finish instructions. Do not polish the area with another product until compatibility is clear.
Peeling or swollen areas
These signs can point to finish or moisture damage rather than ordinary dirt. Further wet cleaning may make the problem worse.
Common Mistakes to Avoid
Most avoidable cabinet cleaning problems come from too much moisture, an unsuitable cleaner, or excessive force. Even when a product is appropriate for a surface, careless use can leave residue or affect worn areas. Slow, controlled cleaning is usually a better starting point than trying to finish every door in one pass.
Source: storage.googleapis.com
Using an overly strong mix
A stronger solution may leave residue and does not guarantee better grease removal. Use the labeled dilution.
Soaking the doors
Excess water can enter joints and exposed edges. Keep the cloth damp and dry each section promptly.
Skipping the test spot
A hidden test can reveal an unwanted change before it affects a visible door.
Scrubbing with steel wool or rough pads
Abrasive tools can scratch paint, wear protective coatings, or damage veneer.
Leaving cleaner on the surface
Residue can attract dirt or create an unpleasant feel. Follow the label’s instructions for wiping and drying.
Mixing household cleaners
Combining products can cause hazardous reactions or unpredictable surface effects. Use one product at a time.
Cleaning damaged finishes as if they were sound
Peeling, cracked, or swollen surfaces may need repair. Do not keep applying moisture to a failing finish.
Can You Use Murphy’s Oil Soap Every Week?
There is no single cleaning schedule that suits every cabinet. Lightly used cabinets may need only occasional wiping, while doors around a busy stove may collect grime more often. The right frequency depends on the amount of cooking, the finish, and the cabinet manufacturer’s care instructions.
For frequent upkeep, a soft cloth and a small amount of water may be enough when permitted. Reserve a compatible cleaner for dirt that does not come off with the simpler method. Using soap more often than needed can leave residue if the surface is not cleaned according to the label.
For routine dust
Use a dry, soft cloth or another method allowed by the cabinet maker.
For fresh splashes
Wipe them promptly with a suitable damp cloth, then dry the surface.
For built-up grime
Use a compatible labeled cleaner and test before treating a larger area.
Troubleshooting Streaks, Residue, and Finish Changes
If the cabinet looks worse after cleaning, stop and identify the symptom before trying another product. A streak can come from leftover cleaner, a dirty cloth, or a finish that reacts poorly to the solution. A change in color, texture, or shine is more concerning than an ordinary fingerprint and calls for extra caution.
Let the area dry before judging the result. Wet surfaces can look darker or shinier than dry ones, making it harder to tell whether a lasting change has occurred. Do not apply furniture polish, wax, oil, or another cleaner to cover up the problem until you know what caused it.
Source: storage.googleapis.com
White or cloudy marks
Stop and review the care instructions. If the label permits it, try a clean, well-wrung cloth with water on a hidden spot, then dry. Do not keep rubbing a damaged finish.
A sticky surface
Check whether cleaner or grease remains. Follow the labeled residue-removal directions, use a clean cloth, and dry the area.
A dull patch
Compare it after drying. If the change remains, the coating may have been affected, so avoid additional cleaners and abrasives.
Raised grain or swelling
These can indicate moisture exposure or damage. Stop wet cleaning and seek advice from the cabinet maker or a qualified refinisher.
A color change
Stop using the product on that surface. Photograph the area and contact the cabinet or finish manufacturer for guidance.
When to Call a Cabinet Professional
Ask a qualified cabinet refinisher for help if the coating peels, the wood veneer lifts, the panel swells, or a visible finish change remains after the surface dries. These problems may need repair or refinishing rather than another cleaning pass. The same applies when the cabinet material is unknown and a test spot reacts badly.
If a cleaning product causes an unexpected reaction, follow the product label’s first-aid and exposure guidance. Keep the container available so the manufacturer or a medical professional can identify the exact product if needed.
Get finish advice
Use the cabinet maker or a qualified refinisher for persistent damage or uncertain coatings.
Avoid home remedies
Do not use solvents, strong acids, or abrasive compounds to correct a finish problem without verified guidance.
How to Keep Kitchen Cabinets Clean Longer
Small, regular cleanups can prevent grease and dust from turning into a thick film. Wipe fresh splashes when practical, keep handles free of oily residue, and use the cleaning method approved for your cabinet finish. These habits reduce the need for heavy scrubbing later.
The area beside the range may need more attention than upper cabinets far from the cooking zone. The cabinet faces near a sink can also collect water spots and hand marks. Focus on the places that get used most rather than washing every door on a fixed schedule.
Source: purekitchenstyle.com
Wipe spills promptly
Use a suitable cloth and remove moisture instead of allowing food or water to sit on the finish.
Clean handles and edges
These areas collect fingerprints and grease from repeated contact.
Control cooking residue
Use your range hood as directed and clean nearby surfaces regularly to limit grease buildup.
Keep cloths clean
Use a fresh cloth when the old one becomes greasy or dirty.
Check for damage
Inspect worn corners, seams, and areas around the sink so small finish problems do not go unnoticed.
A Simple Cabinet Care Routine
For day-to-day care, remove crumbs and dust with a soft cloth. Wipe fresh marks with a lightly damp cloth if the cabinet maker permits it, then dry the surface. Use Murphy’s Oil Soap only when it suits the finish and the label supports the intended task.
For periodic cleaning, inspect the doors first and treat one small area at a time. Concentrate on the spots that need attention, and avoid wetting the entire cabinet run at once. A short, careful cleanup is easier to control than a large batch of solution spread across every door.
Daily or as needed
Remove fresh splashes, crumbs, and visible fingerprints using an approved gentle method.
When grime builds up
Use a compatible cleaner at its labeled dilution, then wipe and dry as directed.
After any unusual reaction
Stop, allow the surface to dry, and check the finish before resuming routine care.
Frequently Asked Questions
Q
Can I use Murphy’s Oil Soap on painted kitchen cabinets?
Only use it when the paint or cabinet manufacturer and the product label support that use. Painted finishes vary in durability, and older or damaged paint may react differently from a sound washable coating. Test a hidden spot first and stop if the paint changes color, shine, or texture.
Q
Does Murphy’s Oil Soap remove grease from kitchen cabinets?
It may help remove some greasy soil from compatible finished surfaces when used as directed. Results depend on the type and age of the grease, the cabinet finish, and the cleaning method. For stubborn buildup, repeat a gentle approved cleaning pass or choose a grease cleaner confirmed as suitable for the cabinet material.
Q
Should I rinse kitchen cabinets after using Murphy’s Oil Soap?
Follow the directions on your specific product and the cabinet maker’s care instructions. If they call for wiping away residue, use a clean cloth dampened with water and wring it out well. Do not flood the cabinet or leave water sitting on edges and seams.
Q
Can Murphy’s Oil Soap damage wood cabinets?
Damage is possible if a cleaner is unsuitable for the finish or is used incorrectly. Excess moisture, an overly concentrated mix, vigorous scrubbing, and cleaning over a worn coating can increase the risk. Check the label, test a hidden area, and avoid using it on unfinished or delicate surfaces unless their care instructions permit it.
Q
Can I use Murphy’s Oil Soap on laminate kitchen cabinets?
Do not assume that a cleaner suitable for finished wood is also suitable for laminate. Check the laminate or cabinet manufacturer’s care instructions and the product label. If the surface is approved for the cleaner, test a small hidden area and use minimal moisture.
Q
Why do my cabinets feel sticky after cleaning?
A sticky feel can mean that grease remains, cleaner residue was left behind, or the finish itself has changed. Allow the surface to dry, then follow the product’s residue-removal directions with a clean cloth if permitted. If the sticky feel persists or the coating appears soft or cloudy, stop and seek finish-specific advice.
Q
Can I mix Murphy’s Oil Soap with vinegar or bleach?
Do not mix Murphy’s Oil Soap with bleach, vinegar, ammonia, or other household cleaners. Use the product by itself according to its label. Mixing cleaners can create hazardous reactions or leave residues that are unsuitable for the cabinet finish.
✦ Wrapping Up
Conclusion
Murphy’s Oil Soap can be a practical option for some finished wood kitchen cabinets, but the cabinet material and protective coating matter more than the product’s name. The best approach is to read the current label, check the cabinet maker’s care guidance, and test a hidden spot before cleaning a larger area.
Use the labeled dilution, work with a soft damp cloth, and keep moisture away from seams and exposed edges. Remove residue as directed and dry each section before moving on. If the cabinet becomes sticky, cloudy, dull, or discolored, stop rather than adding more cleaner or scrubbing harder.
💡 Key Takeaway
Before cleaning the full cabinet run, check the finish, read the Murphy’s Oil Soap label, and test one hidden spot. Proceed only if the surface dries without an unwanted change.