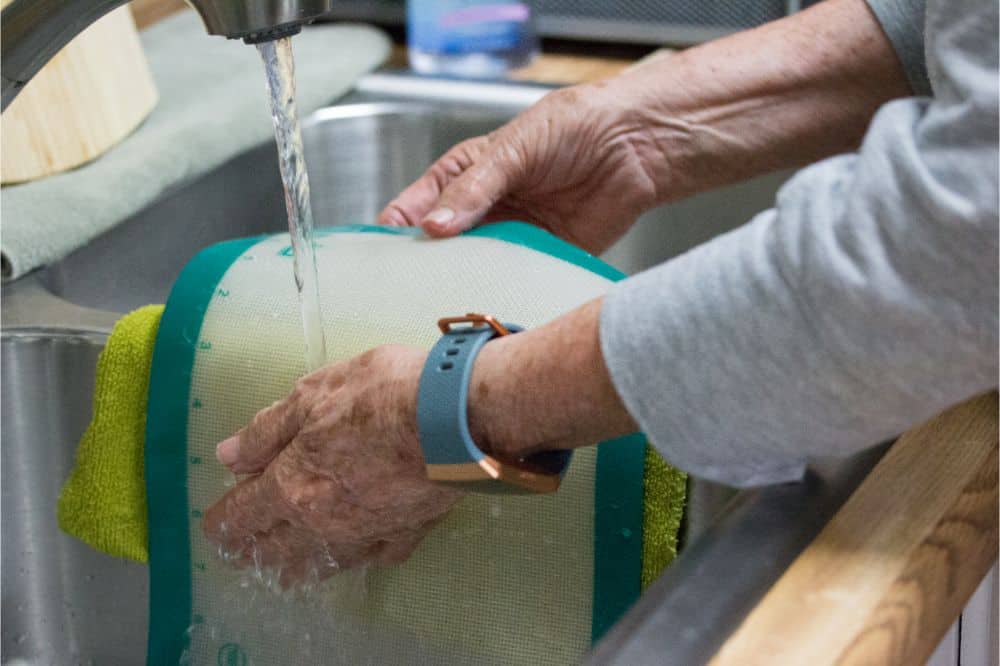
To clean kitchen mats, shake off loose dirt, check the care label, and wash the mat with mild soap and warm water if the material allows it. Rinse away soap, remove extra water, and let the mat dry fully before placing it back on the floor.
Kitchen mats catch crumbs, cooking oil, food bits, dust, and wet shoe marks. In a busy American home, a mat near the stove or sink can get dirty long before the rest of the floor looks messy. A quick clean helps keep the mat fresh and stops loose grit from spreading around the kitchen.
The right cleaning method depends on what the mat is made of. A washable cotton mat may handle a machine wash, while a rubber-backed rug, memory foam mat, or solid anti-fatigue mat may need gentle hand cleaning. Start with the care label, use mild cleaners, and avoid heat or harsh chemicals unless the maker says they are safe.
This guide explains how to clean common kitchen mats, deal with grease and food stains, remove odors, and dry each type with care. It also covers what to do when a mat stays sticky, smells musty, or slips after washing. The aim is a clean mat that stays in good shape and lies safely on the floor.
The safest cleaning method starts with the mat itself. Kitchen mats may look alike, but cotton, microfiber, rubber, vinyl, memory foam, and woven fibers react differently to water, heat, and cleaning products. A method that works on a simple cotton rug can damage a mat with a glued or foam backing.
Look for a sewn-in care tag, product instructions, or the maker’s website. Check whether the mat can be machine-washed, soaked, scrubbed, or exposed to heat. If no instructions are available, begin with a small test in a hidden spot and use the gentlest method that removes the dirt.
Do not assume that a rubber bottom makes a mat safe for the washing machine. Some backings can crack, curl, shed bits, or lose their grip during a wash. When the construction is unclear, surface cleaning is the safer starting point.
Source: industrystandarddesign.com
Cotton and washable fabric
These mats may be machine-washable, but color, stitching, and backing still matter. Follow the label for water temperature and drying.
Microfiber
Microfiber can collect fine dirt and grease. Use a suitable mild detergent and avoid fabric softener if the care instructions warn against it.
Rubber and vinyl
These mats often suit hand washing with mild soap and water. Strong solvents and rough scrubbers may harm the surface.
Memory foam
Foam mats need gentle care because the core may hold water. Use a washing machine only if the maker clearly permits it.
Woven natural fibers
Jute, sisal, and similar fibers can stain, shrink, or weaken when wet. Prefer the maker’s recommended dry or low-moisture cleaning method.
Check the Backing and Floor Type
Turn the mat over and inspect the backing for cracks, peeling, sticky spots, or loose pieces. These signs can mean the mat needs gentle surface cleaning or replacement rather than a full wash.
Also consider the floor beneath it. Some rubber and latex backings can react with certain floor finishes, especially when heat or moisture gets trapped. Follow the flooring and mat makers’ advice, and lift the mat now and then to check for dampness, discoloration, or residue.
If the backing is damaged
Avoid machine washing, high heat, and hard scrubbing. Replace the mat if the backing sheds, no longer grips, or causes a safety concern.
If the floor looks marked
Remove the mat, clean the floor with a product suited to its finish, and let the area dry before putting down a compatible mat.
What You Need to Clean Kitchen Mats
Most routine mat cleaning calls for a few basic supplies. You do not need a special cleaner for every type of dirt. Mild dish soap or a suitable laundry detergent, clean water, a soft brush, and a few towels are enough for many common mats.
Choose supplies that match the surface. A soft microfiber cloth works well on smooth vinyl, while a soft-bristled brush can loosen dirt caught in fabric. A vacuum or broom helps remove dry debris before water turns it into muddy residue.
Keep bleach, abrasive powders, strong solvents, and scented cleaning mixtures out of the process unless the manufacturer approves them for that exact material. Never mix cleaning chemicals. In particular, bleach must never be mixed with ammonia, vinegar, or other cleaners because dangerous gases or reactions can result.
Source: constructionhow.com
Mild dish soap
Useful for many washable rubber, vinyl, and synthetic surfaces when diluted in water.
Laundry detergent
Use a small amount of a suitable detergent for fabric mats approved for washing.
Soft brush or cloth
Lifts dirt without the damage that a stiff wire brush or abrasive pad may cause.
Clean towels
Help blot stains and absorb water before air-drying.
Vacuum or broom
Removes crumbs, hair, dust, and loose grit before wet cleaning begins.
Prepare a Safe Cleaning Area
Move the mat away from the stove, open flames, and electrical appliances before cleaning it. Work on a surface where dirty water can drain without creating a slip hazard. If you clean the mat in a bathtub or sink, keep the area clear and rinse away soap residue afterward.
Wear gloves if a cleaning product label calls for them. Keep children and pets away from open cleaning products and wet floors. A mat should not return to use until the mat itself and the floor below it are dry.
Read the label
Check the cleaner’s instructions, including dilution, contact time, ventilation, and protective equipment.
Avoid chemical mixing
Use one cleaner at a time, rinse as directed, and never combine household cleaning products.
How to Clean Kitchen Mats by Hand
Hand washing is a good starting point for solid rubber mats, vinyl mats, and other surfaces that tolerate water. It gives you control over the amount of moisture and lets you focus on greasy spots without stressing the backing. Always check the manufacturer’s instructions first.
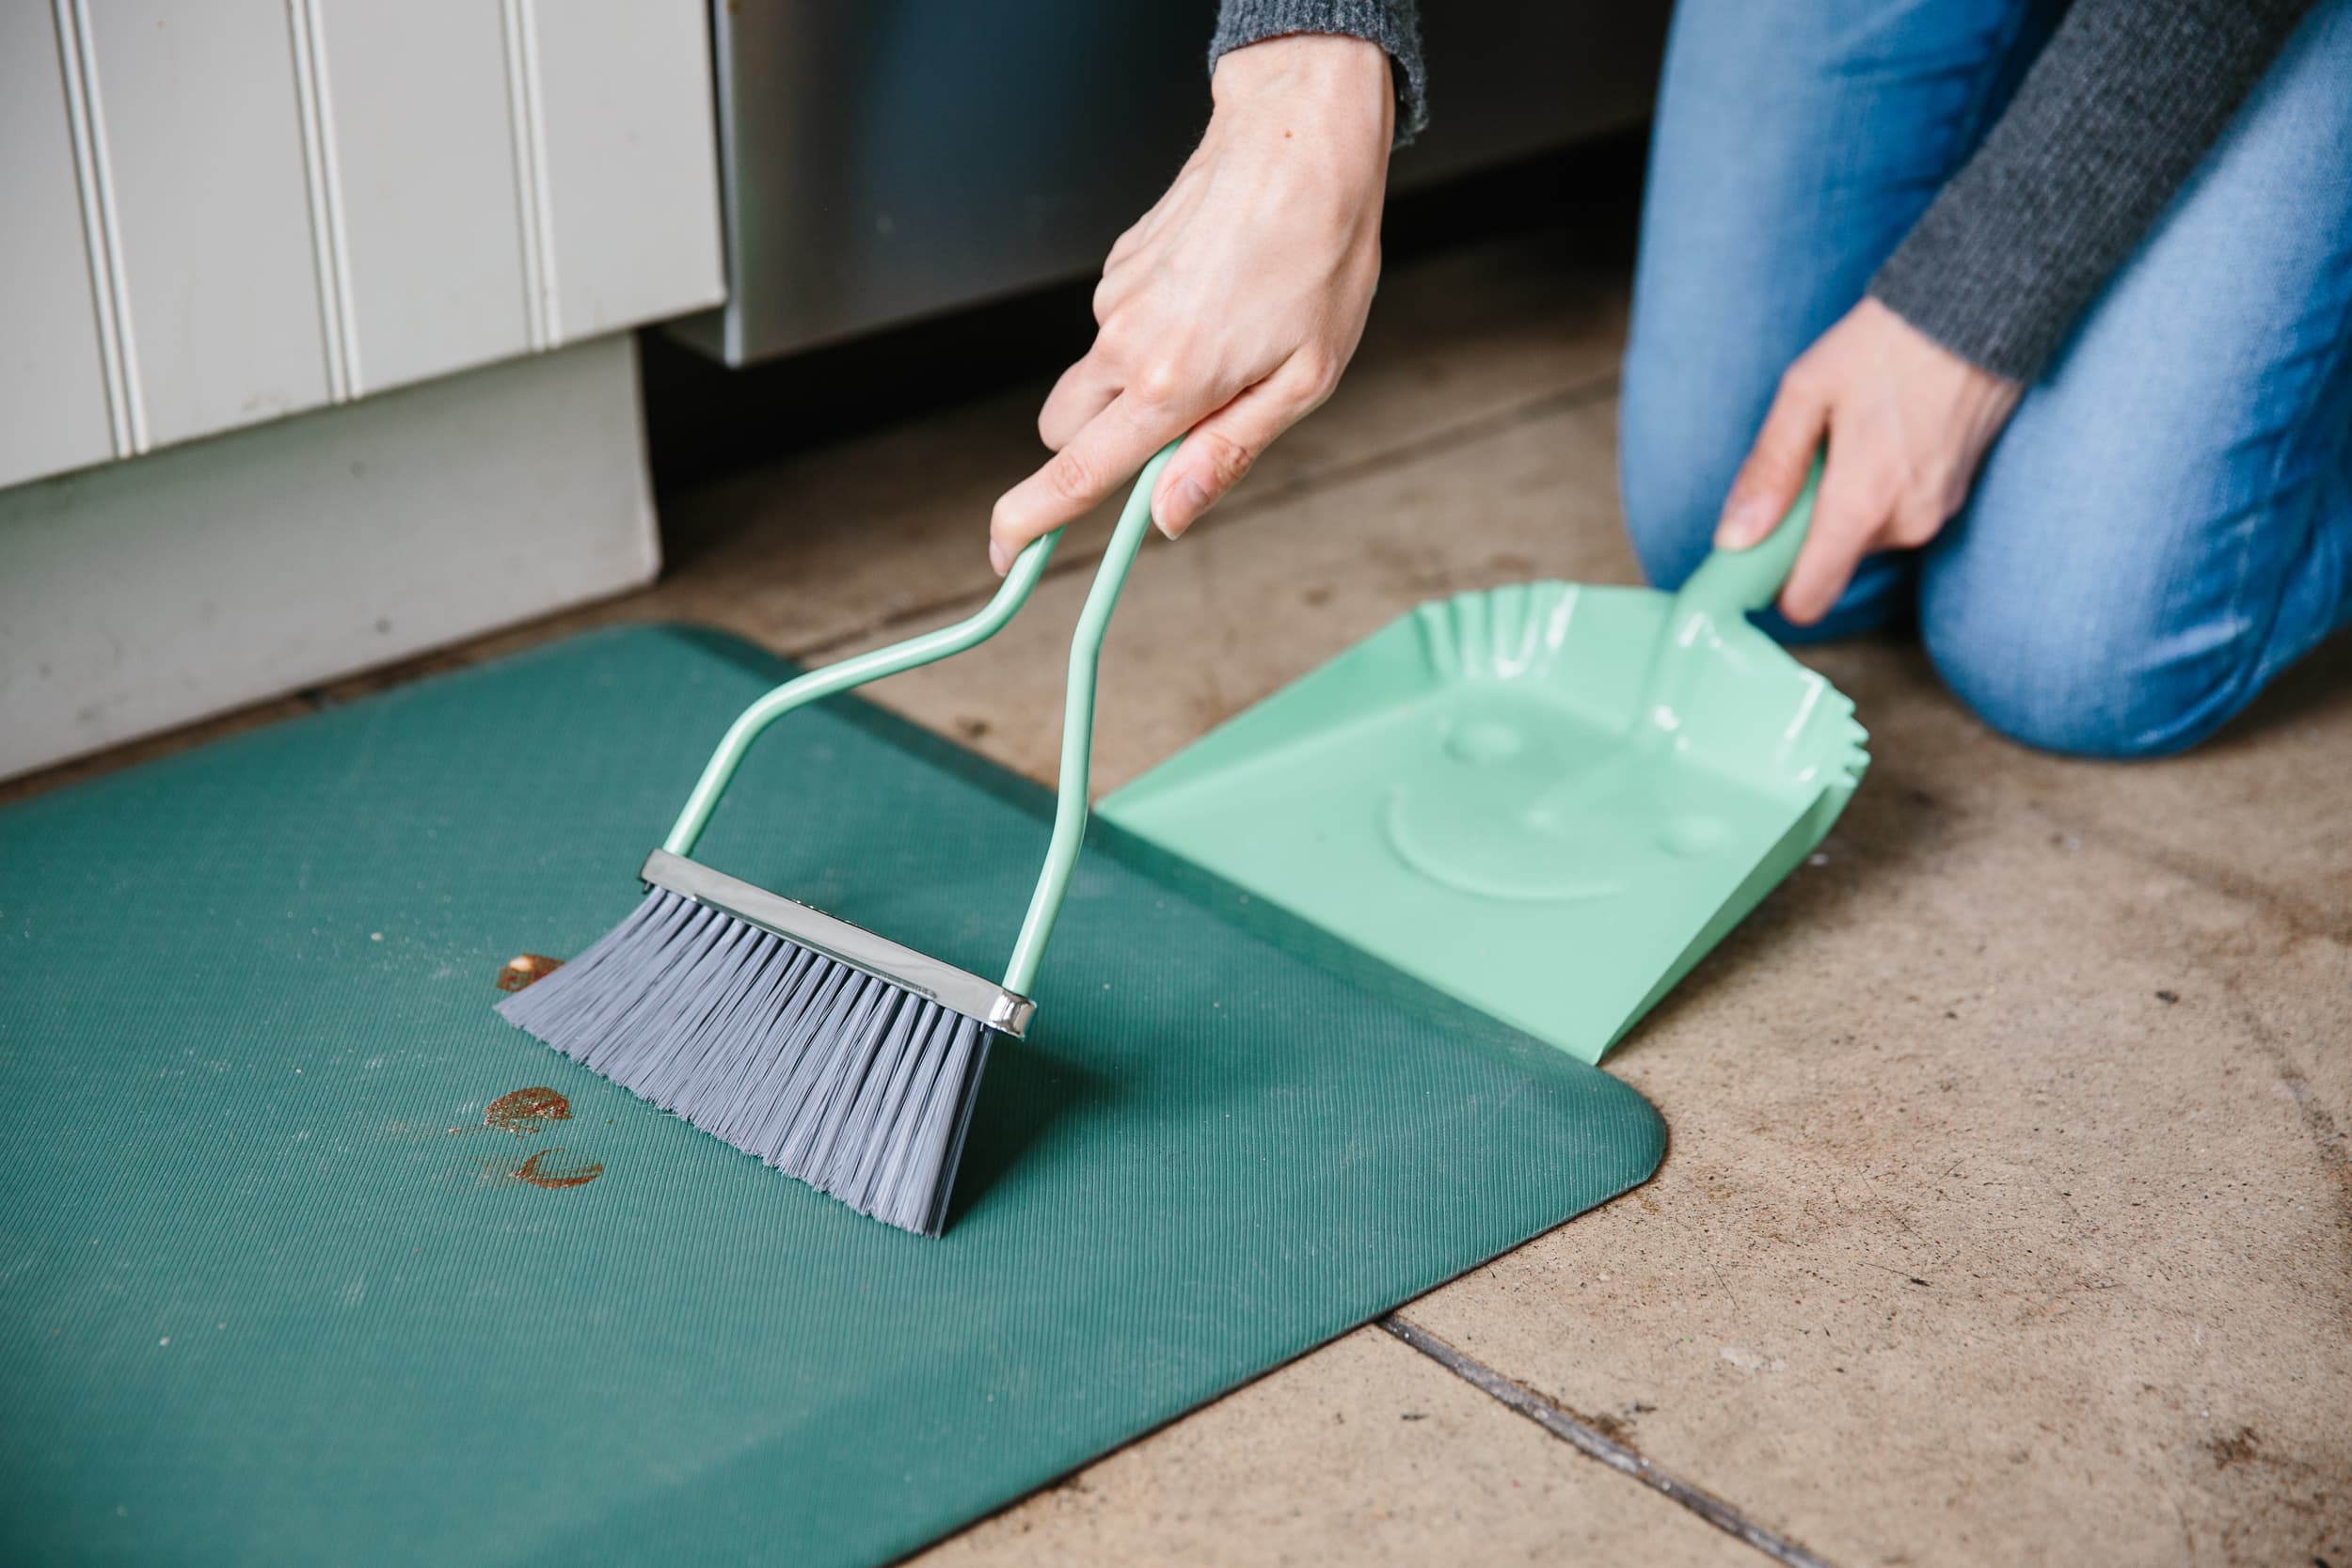
Begin by removing crumbs and loose dirt. If the mat is covered in dry grit, shaking it outside or vacuuming it can prevent the dirt from spreading when you add water. For mats used near food preparation areas, clean both the top and underside when the material permits it.
Source: trimthatweed.com
Step 1: Remove loose debris
Shake the mat outdoors if practical, or vacuum both sides with a suitable attachment. Lift loose food bits by hand rather than rubbing them into the surface.
Step 2: Mix a mild cleaning solution
Add a small amount of mild dish soap to warm water. Avoid very hot water unless the product instructions specifically allow it.
Step 3: Wipe or scrub gently
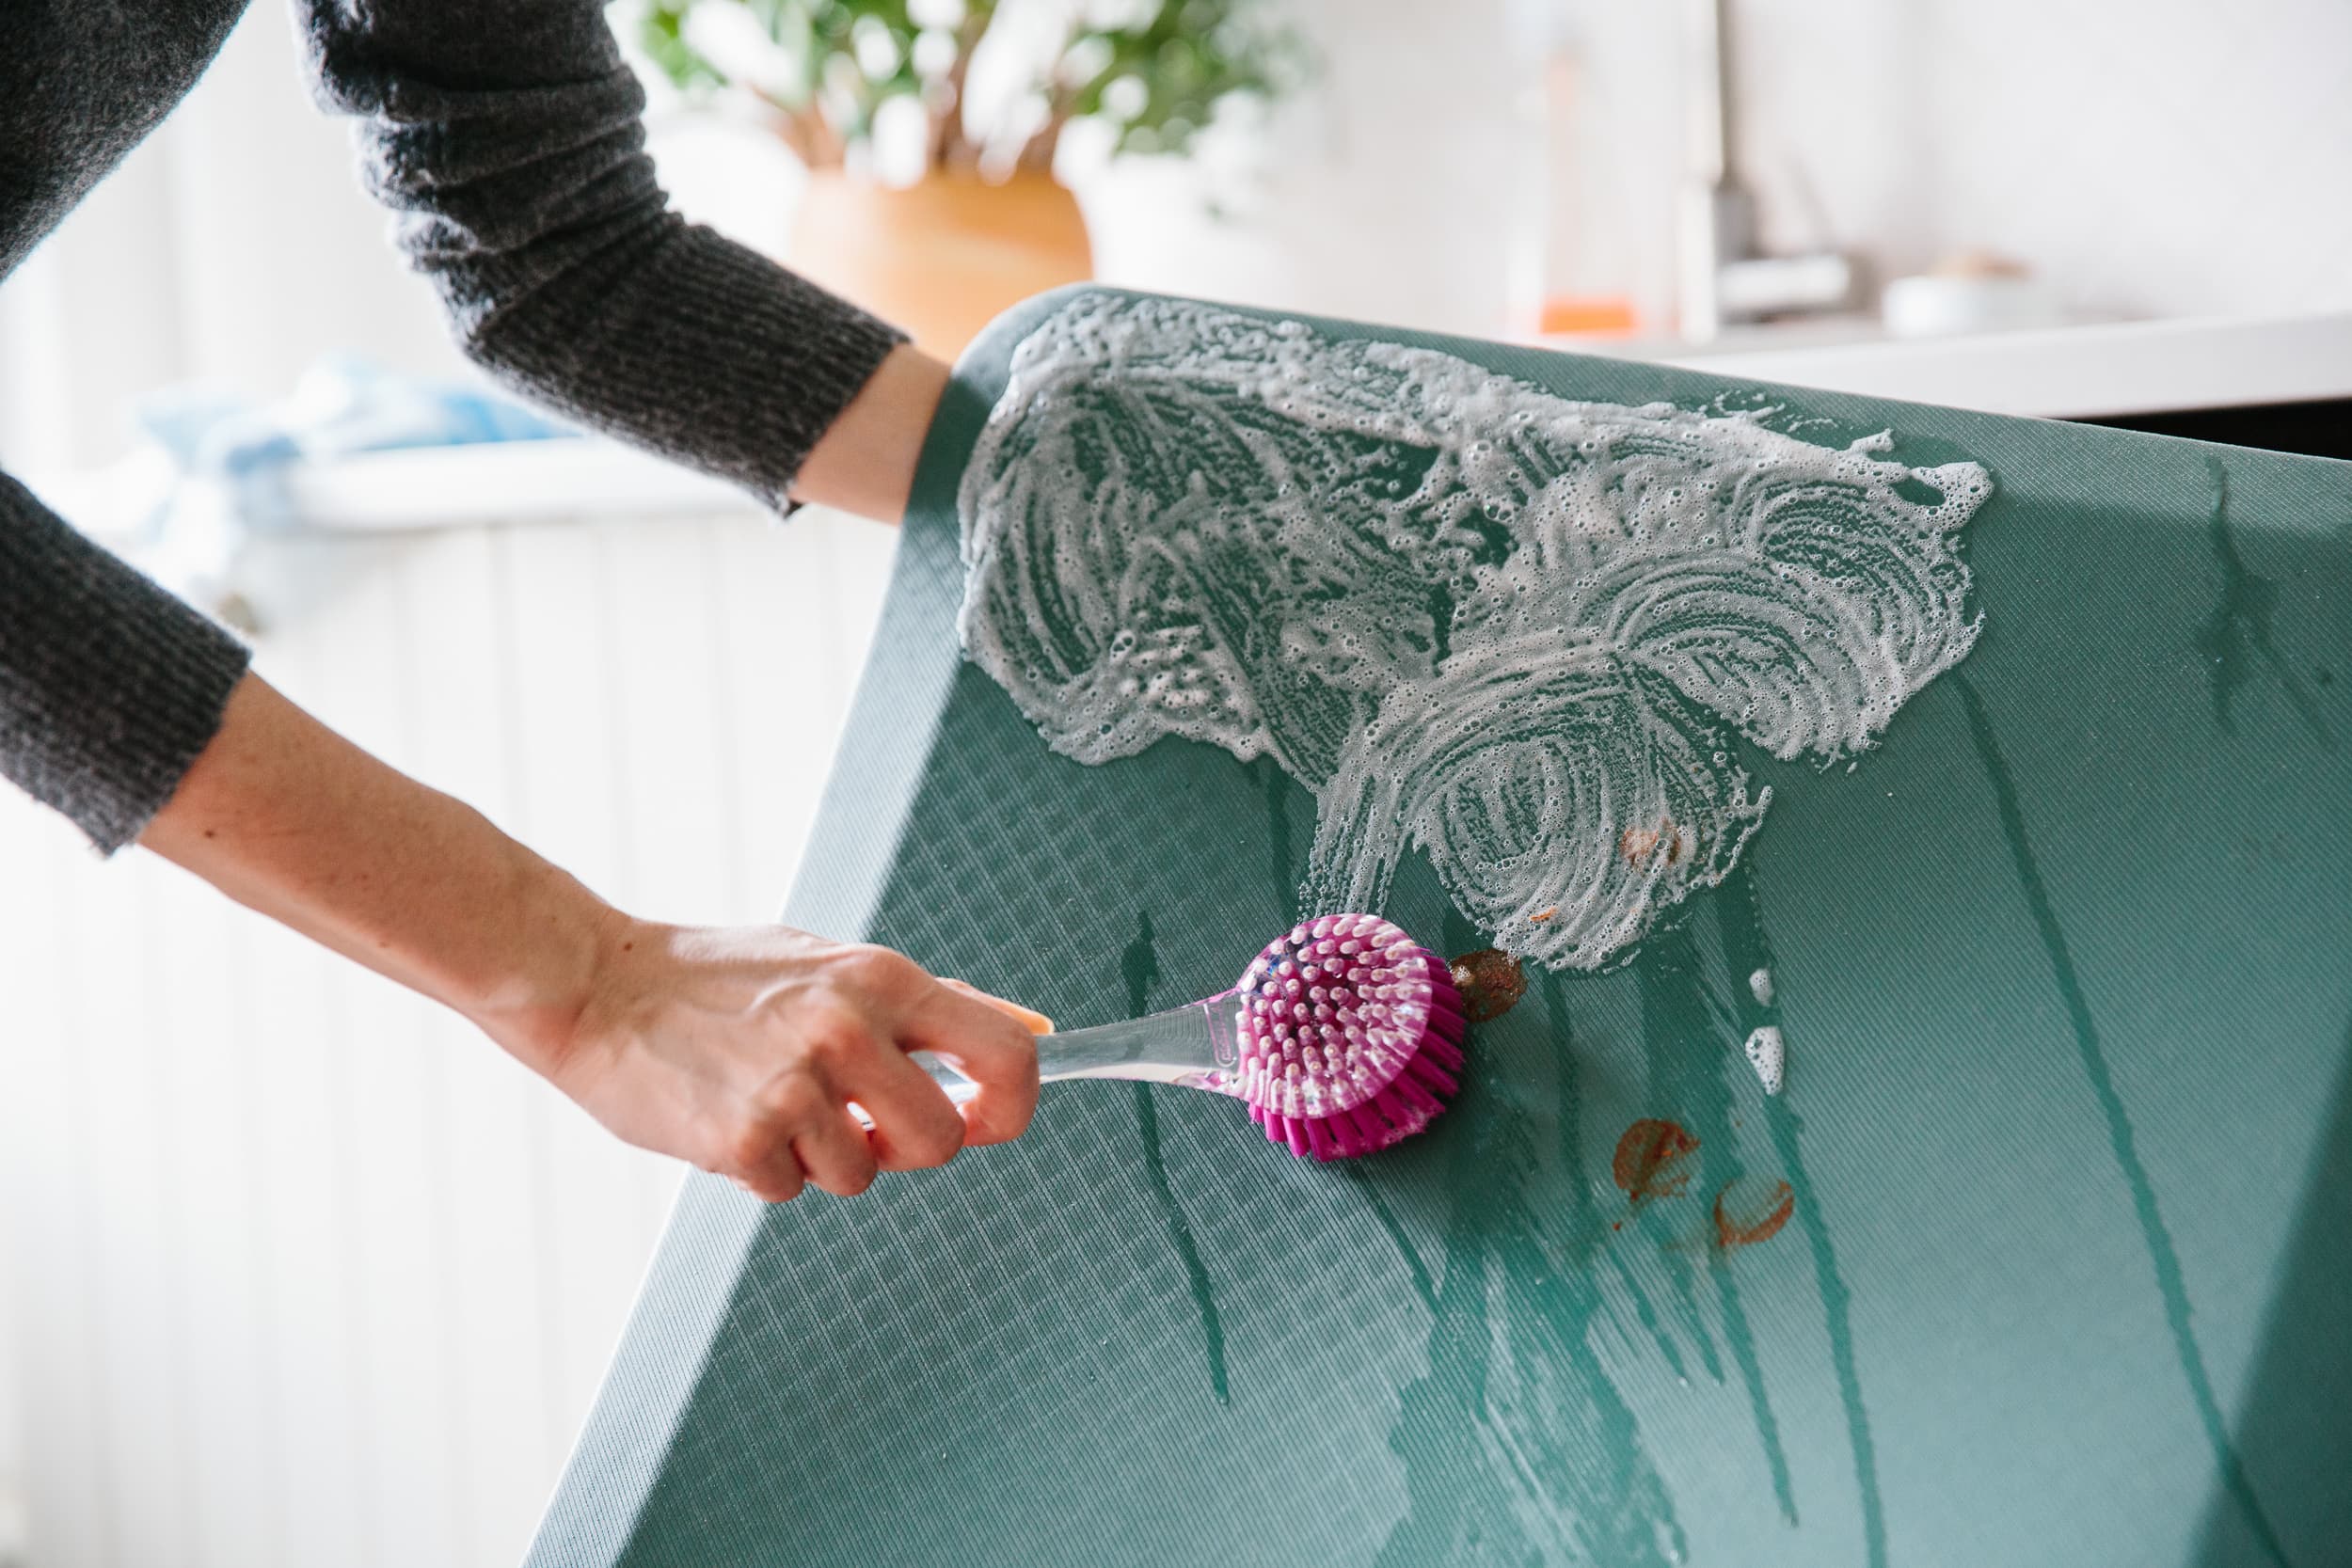
Dip a soft cloth or brush into the solution and clean in small sections. Spend extra time on sticky spots, textured grooves, and areas where shoes leave marks.
Step 4: Rinse away soap
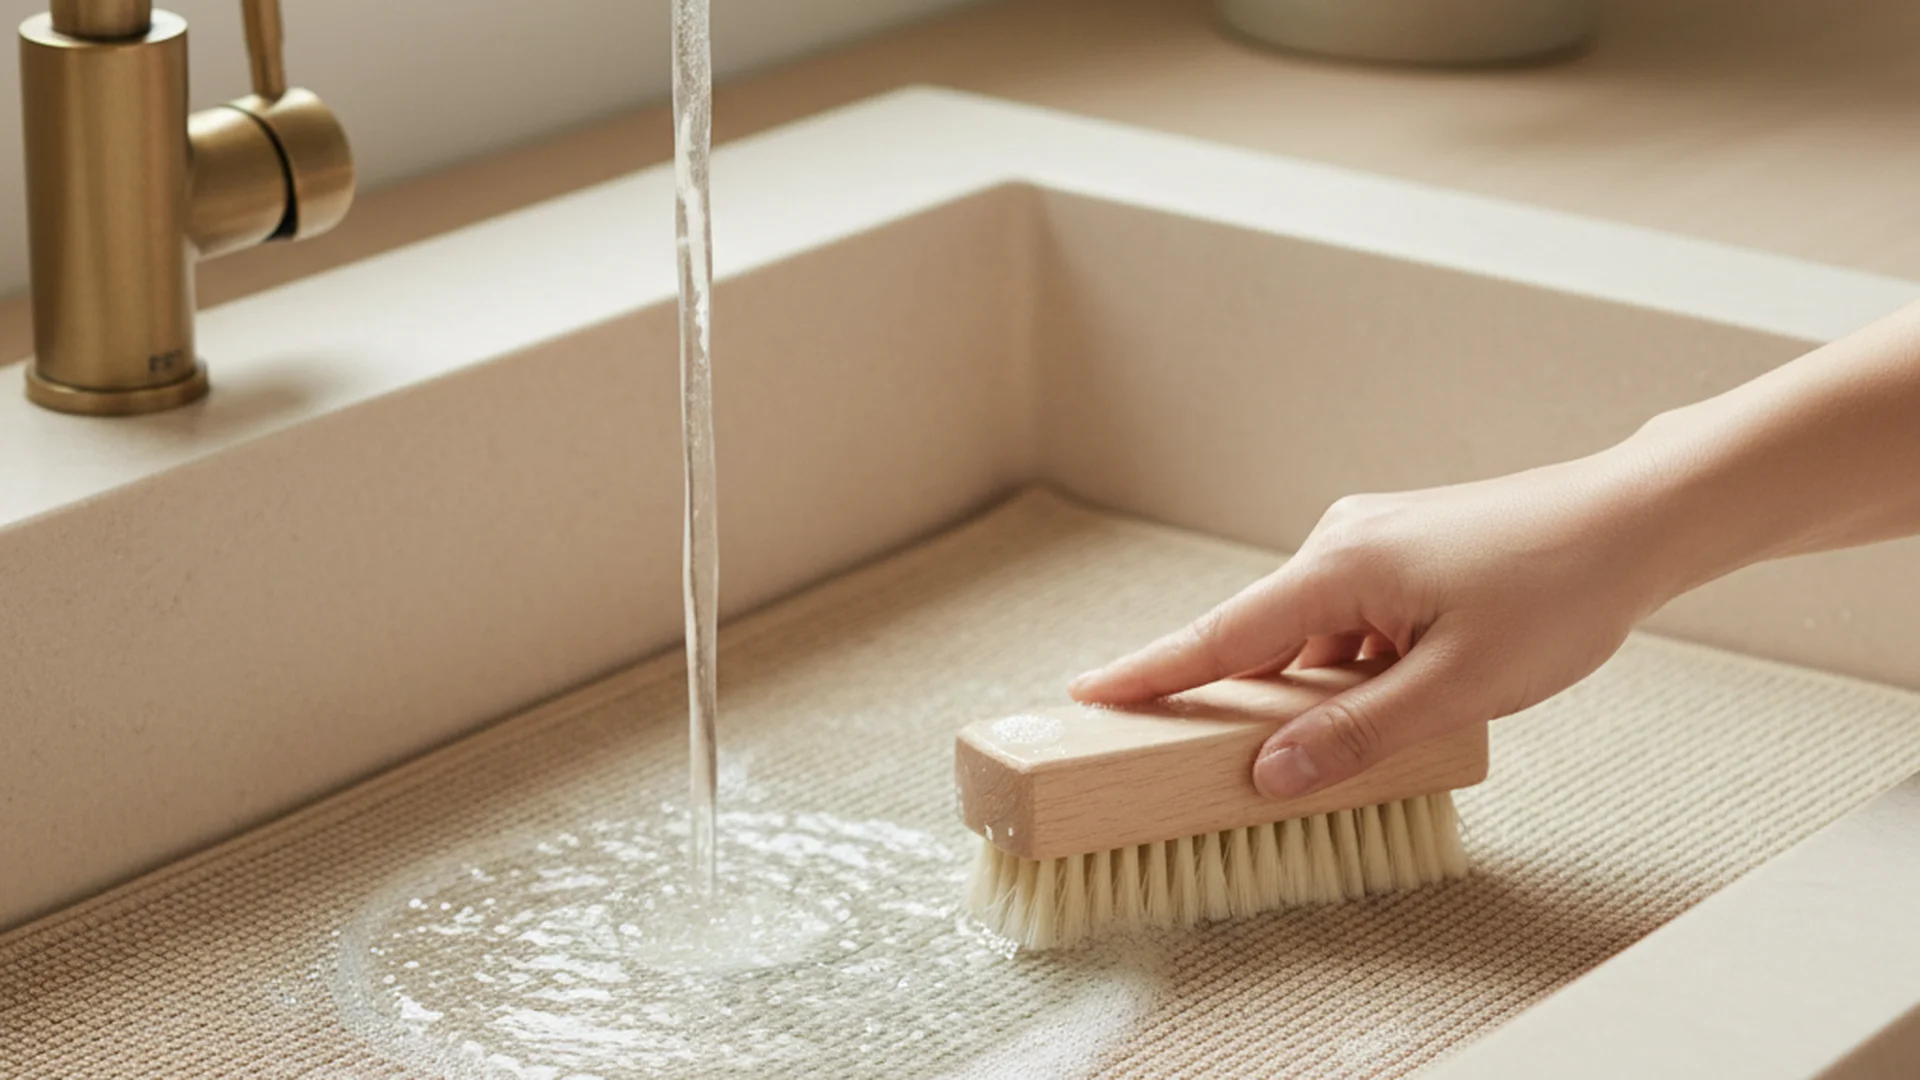
Wipe the mat with a fresh cloth dampened with clean water, or rinse it gently if the material allows. Soap left behind can attract dirt and make the surface feel slick.
Step 5: Remove excess water
Blot the mat with a towel. Do not twist, fold sharply, or wring a foam or backed mat.
Step 6: Air-dry fully
Place the mat in a well-ventilated area away from direct heat. Dry both sides as needed and wait until the surface and backing feel dry before use.
How to Clean Textured Rubber Mats
Textured rubber mats can hold crumbs and grime in raised patterns or small grooves. Use a soft brush to work mild soapy water into these areas. Keep the brush moving gently instead of pressing hard into the rubber.
Rinse carefully so that no soap remains in the grooves. Dry the mat flat or in the position recommended by the maker. Do not use petroleum-based solvents or strong chemical degreasers unless the manufacturer confirms that they are compatible with the rubber.
For deep grooves
Use a soft toothbrush or small cleaning brush to reach corners and textured channels.
For stubborn marks
Repeat a mild wash before trying a stronger product. Test any approved cleaner on a small, hidden area first.
Can You Wash Kitchen Mats in a Washing Machine?
You can machine-wash a kitchen mat only when its care label or manufacturer says that machine washing is allowed. Many plain fabric mats are washable, but a rubber-backed rug, foam mat, or heavy anti-fatigue mat may not be suitable for a washer. Weight, backing material, and construction all affect the answer.
Before washing, remove loose dirt and treat visible stains. Check the washer’s capacity and instructions so the mat can move without placing an excessive load on the machine. If the mat is unusually heavy when wet, use a different cleaning method rather than forcing it into a home washer.
Choose the water temperature, cycle, and detergent listed on the care label. A gentle cycle may suit some washable mats, but the label takes priority. Do not assume that a hot cycle will clean better or that a dryer is safe for a mat with a rubber backing.
Source: kitchenasking.com
Check washability
Look for explicit machine-wash instructions. If the label says spot clean only, do not put the mat in the washer.
Remove loose dirt first
Vacuum or shake the mat before washing to reduce the amount of grit entering the washer.
Use suitable detergent
Measure the detergent according to its label and the load size. Extra soap can leave residue in thick fibers.
Follow drying instructions
Air-dry when required. Use a dryer only if the manufacturer explicitly permits it and specifies safe settings.
What About Rubber-Backed Kitchen Rugs?
Rubber-backed mats need extra care because heat, hard tumbling, or repeated flexing may damage the backing. Some are designed for machine washing, while others are not. The presence of a rubber layer alone does not tell you which group your mat belongs to.
If the label is missing and the backing looks brittle, cracked, sticky, or loose, clean the surface by hand instead. Replace the mat if pieces of backing come away or if it no longer stays in place on the floor.
Avoid high heat
Hot water and high dryer heat may harm some backings or adhesives. Follow the exact product care instructions.
Do not overload the washer
A large, heavy mat can make the load unbalanced. Use another cleaning method if the mat exceeds the washer’s recommended capacity.
How to Clean Memory Foam Kitchen Mats
Memory foam kitchen mats need gentle care because the foam can absorb water and take a long time to dry. Too much moisture may remain inside even when the top feels dry. Check the product instructions before using water, a washing machine, or any cleaning spray.
For a small spill, blot the area with a clean towel. Do not rub hard, since rubbing can push liquid deeper into the foam or spread the stain. Use a cloth dampened with a little mild soapy water only if the maker permits it, then wipe again with a clean, damp cloth to remove soap.
Press a dry towel against the cleaned spot to draw out moisture. Let the mat dry in a well-ventilated area, with enough space around it for air to move. Avoid placing it over a floor vent, on a hot radiator, or in direct heat unless the instructions allow that method.
Source: tidied.app
Use little water
Damp cleaning is often easier to control than soaking. Follow the label because some foam mats have specific restrictions.
Do not wring the foam
Twisting can deform the mat or damage its inner structure.
Allow extra drying time
Check the underside and thick edges before reuse. If the core remains damp, continue drying in a ventilated place.
When a Foam Mat Smells Musty
A musty smell can indicate that moisture or residue remains inside the mat. Remove the mat from the floor and check both sides. If the maker permits cleaning, remove the surface dirt and let the mat dry completely before using it again.
Do not cover the smell with perfume or air freshener. If the odor persists, visible mold appears, or the foam stays damp despite proper drying, replacing the mat may be the more practical choice. Do not use a mat that remains wet or slippery.
Check for trapped moisture
Feel the thicker parts and inspect seams and edges. A dry top does not prove that the foam core is dry.
Replace when needed
Consider replacement if mold cannot be removed safely, the foam breaks down, or the mat continues to smell after proper care.
How to Remove Grease, Food Stains, and Sticky Spots
Grease and food spills are easier to clean when you deal with them before they dry. Start by lifting off solid food with a spoon or paper towel. Blot liquid spills instead of rubbing them across the mat.
For a washable, water-safe surface, use a small amount of mild dish soap diluted in warm water. Work from the outer edge of the stain toward the center to reduce spreading. Wipe away the soap with clean water, then dry the area as the material requires.
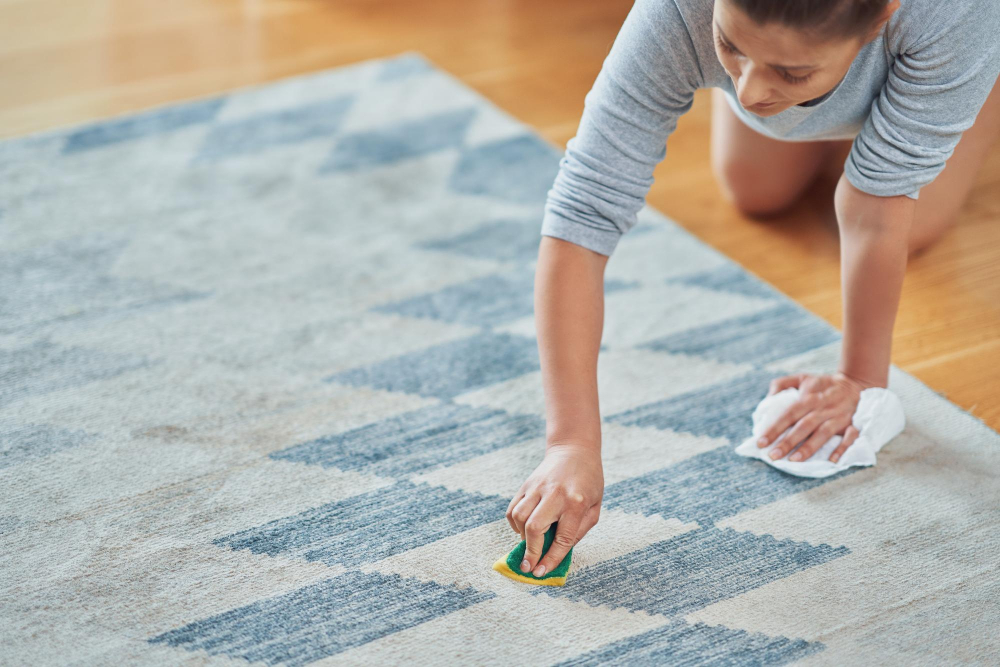
For fabric mats, follow the care label and check the stain treatment on a hidden area first. Avoid bleach or stain removers unless they are approved for the fabric and backing. Never combine stain removers with other cleaning products.
Source: thehomenix.com
Cooking oil
Blot up as much oil as possible. On a water-safe surface, use diluted dish soap, wipe clean, and repeat if needed.
Coffee or tea
Blot the spill with a clean cloth. Treat washable fabric according to its label, and avoid heat until the stain has been checked because heat may make some stains harder to remove.
Dried food
Lift the dried bits gently before wiping. A soft brush can help loosen residue from textured surfaces.
Sticky syrup
Use a damp cloth to soften the residue, then clean with mild soap if the material permits. Rinse well to avoid a tacky finish.
Mud or shoe marks
Let wet mud dry when practical, brush away loose dirt, and then clean the remaining mark with a suitable method.
How to Deal With a Greasy Film
A mat may feel greasy even after visible crumbs are gone. This can happen when cooking oil mixes with dust or when detergent leaves a film. Clean a small section with diluted mild dish soap and a soft cloth, then wipe again with fresh water.
If the surface still feels slick, repeat the rinse rather than adding more soap. Check the mat maker’s guidance before using a commercial degreaser. A product meant for metal or kitchen counters may not be safe for rubber, foam, printed designs, or coated fibers.
Use less cleaner
Too much soap can leave residue that catches dirt and changes the feel of the surface.
Check after rinsing
The surface should not feel soapy or unusually slippery when dry. Keep the mat out of use until it is clean and dry.
How to Remove Odors and Clean Both Sides
Kitchen mats can hold odors from food, cooking oil, spilled drinks, and moisture. Cleaning the visible side alone may not solve the problem because dirt can collect underneath or along the edges. Lift the mat, clean the floor below it, and check whether the backing has trapped moisture.
Wash or wipe both sides only when the material permits it. Use mild soap and clean water on compatible surfaces, then remove the residue. For fabric mats, follow the washing label rather than soaking the backing or applying an unapproved deodorizer.
Baking soda is sometimes used to absorb odors from dry, compatible materials, but it is not a substitute for washing away food residue. Check the maker’s instructions before applying powders, especially on foam, textured rubber, or surfaces that may hold particles. Vacuum away any powder fully before reuse.
Source: trimthatweed.com
Clean the underside
Wipe away dust and grime if the backing allows damp cleaning. Do not soak a backing that is not designed for it.
Clean the floor
Use a floor cleaner suited to the floor finish and let the area dry before replacing the mat.
Dry fully
Airflow helps moisture escape. Check the edges, seams, and underside before putting the mat back.
Do not mask a bad odor
Persistent mustiness may point to trapped moisture, mold, or deteriorating backing. Find the cause instead of adding fragrance.
Should You Disinfect a Kitchen Mat?
Routine cleaning with a suitable detergent or soap removes dirt and many common residues, but cleaning and disinfecting are not the same thing. Disinfection uses a product intended to kill specified germs under stated conditions. Most kitchen mats do not need a strong disinfectant after every use.
If a spill involves raw meat juices or another contamination concern, follow the mat manufacturer’s cleaning guidance and the cleaner’s label. Use a disinfectant only if its label allows use on that surface and gives directions for the needed contact time. Some products require the surface to remain wet for a stated period.
Never mix bleach with vinegar, ammonia, acids, or other cleaning agents. Keep the area ventilated and keep children and pets away as the label directs. If the mat cannot be cleaned safely after serious contamination, replacing it may be the better option.
Clean first
Remove visible dirt and food residue before disinfecting when the product instructions require this step.
Follow the label
Use only an approved product and observe the required dilution, contact time, rinsing, and drying directions.
Dry Kitchen Mats the Right Way
A kitchen mat is not ready for use just because the top feels dry. Moisture can remain under a thick fabric pile, inside foam, along stitched edges, or between the mat and the floor. Putting a damp mat back can trap water and create odors or a slipping risk.
After washing, remove excess water without stretching or twisting the mat. Hang or lay it in the position recommended by the maker, with enough airflow to reach both sides. Turn it over when appropriate so the underside can dry too.
Avoid direct high heat unless the instructions clearly allow it. Heat can affect rubber, vinyl, adhesives, foam, and some synthetic fibers. A dryer can also damage backing or cause a mat to curl, so do not use one simply because the fabric surface looks sturdy.
Source: cleaningbasic.com
Blot first
Press clean towels against wet areas to draw out water before air-drying.
Allow airflow
Use a clean, ventilated area and avoid piling other wet items on top of the mat.
Check the underside
Inspect the backing, corners, and thick areas for lingering dampness.
Wait before reuse
Return the mat only when both the mat and the floor beneath it are dry and the mat lies flat.
What If the Mat Curls or Feels Slippery?
A curled edge can catch a foot, while soap residue or a damaged backing can make a mat slide. Stop using the mat if it does not lie flat or grip the floor as intended. Clean off any remaining soap if the material permits, then let the mat dry and check it again.
Do not use heavy objects, strong heat, or improvised adhesives to force a damaged mat flat unless the manufacturer recommends a repair. Replace a mat with cracked backing, persistent curling, or loss of grip if it creates a trip or slip hazard.
If soap remains
Wipe or rinse with clean water according to the material’s instructions, then dry fully.
If the backing has failed
Stop using the mat until it is repaired according to the maker’s instructions or replaced.
How Often Should You Clean Kitchen Mats?
The best cleaning schedule depends on where the mat sits and how much use it gets. A mat beside a busy stove may collect oil and food spills faster than one in a quiet breakfast nook. Pets, children, outdoor shoes, and frequent cooking can also mean more dirt.
Remove crumbs and loose debris as needed, and spot-clean spills as soon as practical. Wash the whole mat according to its care instructions when it looks dirty, feels greasy, or starts to smell. Lift it regularly to check the floor and backing, even if the top still looks clean.
There is no single schedule that suits every mat. A busy household may need more frequent care than a home where the mat sees little use. Let visible dirt, odor, moisture, and the product’s instructions guide the routine.
Source: cleaningbasic.com
Daily or as needed
Shake out crumbs, vacuum loose dirt, and blot fresh spills.
Weekly check
Inspect the top, edges, and underside for grime, grease, loose backing, and trapped moisture. Clean more often if needed.
When visibly dirty
Wash or hand-clean the mat using a method approved for its material.
After a major spill
Clean the affected area promptly and follow the manufacturer’s guidance for any contamination concern.
A Simple Mat Care Routine
A small routine can prevent the need for harsh scrubbing. Keep a clean cloth near the sink so spills are easy to blot, and vacuum or shake the mat before dirt builds up. When you lift the mat to clean the floor, use the chance to check its backing.
If a mat stays damp, slips, sheds pieces, or develops a smell that will not go away, do not keep using it just because the top looks clean. A mat is meant to make standing more comfortable or protect the floor, not add a new hazard.
Keep cleaning simple
Use a mild cleaner suited to the mat instead of switching among several strong products.
Watch for wear
Check seams, corners, backing, and surface texture for damage.
Common Kitchen Mat Cleaning Mistakes
Many mat problems start with a cleaning method that is too harsh or uses too much water. A mat may look clean after scrubbing but still have soap in its texture or moisture inside its backing. A few simple checks help prevent damage and reduce the chance of slips.
Choose the method for the material, not just the stain. If a gentle wash does not work, repeat it or check the manufacturer’s guidance before trying a stronger cleaner. Do not trade a small stain for a damaged surface or a slippery floor.
Source: cleaningbasic.com
Using boiling or very hot water
High heat may damage synthetic fibers, foam, adhesives, or rubber backing. Use the temperature specified on the care label.
Scrubbing with rough tools
Wire brushes and abrasive pads can scratch surfaces, pull fibers, or break down a protective coating.
Using too much detergent
Extra soap can leave a film that attracts dirt and makes the mat feel sticky or slick.
Putting every mat in the washer
Some mats are too heavy, have delicate backing, or are not designed for machine washing.
Drying with high heat
A hot dryer or radiator may warp or weaken materials that need air-drying.
Replacing a damp mat too soon
Trapped moisture may lead to odors, floor marks, or slipping. Dry the mat and floor fully before reuse.
Mixing household cleaners
Never combine bleach with ammonia, vinegar, acids, or other cleaners. Use one product according to its label.
When Is It Better to Replace a Kitchen Mat?
A mat does not need replacing just because it has a small stain. However, deep damage can make cleaning ineffective or leave the mat unsafe. Look at the backing, seams, texture, and ability to lie flat rather than judging it by color alone.
Consider replacement if the mat has persistent mold or musty odor, crumbling backing, deep cracks, torn edges, or a surface that stays slippery after proper cleaning. A mat that no longer stays in place may be more trouble than it is worth.
Replace when grip is lost
A mat that repeatedly slides on a clean, dry floor may no longer be safe to use.
Replace when material breaks down
Flaking rubber, torn foam, and loose layers can be signs that cleaning will not restore the mat.
Choosing the Right Cleaning Method at a Glance
Use this table to compare common mat types before you start. It gives a practical starting point, not a replacement for the care label. A specific product’s construction may call for a different method.
Source: cleaningbasic.com
Cotton or washable fabric
Check the label, remove loose dirt, and machine-wash only if allowed. Follow the stated temperature and drying method.
Microfiber
Use suitable detergent and the care-label wash cycle. Avoid fabric softener if the manufacturer advises against it.
Rubber
Use a soft cloth or brush with mild soapy water when permitted. Rinse residue and air-dry.
Vinyl
Wipe with diluted mild soap, then remove soap with a clean damp cloth. Avoid abrasive pads and unapproved solvents.
Memory foam
Blot spills, use limited moisture if allowed, and allow thorough airflow drying. Do not assume machine washing is safe.
Jute or sisal
Use the maker’s low-moisture or dry-cleaning guidance. Water can damage natural fibers or alter their shape.
How to Tell Whether Cleaning Worked
A clean mat should have no visible food residue, no soapy film, and no strong lingering odor from the spill. Its surface should feel normal for the material, and the backing should remain intact. The mat should also lie flat and stay in place as intended.
Check the floor below before returning the mat to use. If the mat is dry but the floor is damp, wait until the floor dries too. If the mat remains slick, smells musty, or sheds pieces, stop and work out the cause before using it again.
Visual check
Look for remaining grease, food bits, stains, and soap marks.
Touch check
When dry, check for unusual tackiness, slickness, damp areas, or loose backing.
Smell check
Make sure the spill odor or musty smell has not remained after proper cleaning and drying.
Frequently Asked Questions
Q
Can I clean a kitchen mat with dish soap?
Yes, mild dish soap diluted in water can clean many rubber, vinyl, and other water-safe kitchen mats. Use a soft cloth or brush, then wipe or rinse away the soap. Check the care label first, because dish soap and water are not suitable for every fabric, foam core, or natural fiber.
Q
Can I put a kitchen mat in the dryer?
Only if the manufacturer says that dryer use is safe and gives suitable settings. Heat can damage rubber backing, foam, adhesives, and some synthetic fibers. When instructions are unclear, blot excess water with a towel and air-dry the mat in a well-ventilated place.
Q
How do I clean a kitchen mat that smells bad?
Remove the mat, inspect both sides, and clean it with a method approved for its material. Clean the floor beneath it as well, then dry both the mat and floor fully. If the odor persists or you see mold or crumbling backing, consider replacing the mat rather than masking the smell.
Q
How do I remove grease from a kitchen floor mat?
Blot up excess oil with a paper towel or clean cloth. If the mat tolerates water, wipe the area with a small amount of mild dish soap diluted in warm water. Rinse away the residue and dry the mat fully. For fabric mats, follow the care label and test stain treatments on a hidden spot.
Q
Can I use vinegar to clean kitchen mats?
Do not assume vinegar is safe for every mat. Its acidity may affect some finishes, materials, or floor surfaces, and it is not a universal disinfectant. Use it only if the mat and floor manufacturers permit it, and never mix vinegar with bleach or other cleaning products.
Q
How often should kitchen mats be washed?
Clean spills and loose crumbs as needed, inspect the mat regularly, and wash it when it becomes dirty, greasy, or smelly. Mats near a stove, sink, or busy walkway may need more frequent cleaning than mats in low-use areas. Follow the maker’s instructions for the safe cleaning method and frequency.
Q
Why is my kitchen mat slippery after cleaning?
Soap residue, leftover grease, a wet floor, or worn backing can make a mat slippery. If the material permits it, wipe away remaining soap with clean water and allow the mat and floor to dry fully. If the mat still slides or its backing is damaged, stop using it until the problem is fixed or the mat is replaced.
✦ Wrapping Up
Conclusion
Learning how to clean kitchen mats starts with one simple step: check the material and care label. Mild soap and water work for many rubber and vinyl mats, while washable fabric mats may need a suitable laundry cycle. Foam and natural-fiber mats often need a gentler approach with less moisture.
Remove loose dirt before wet cleaning, treat grease while it is fresh, and rinse away any soap that remains. Dry the mat and the floor beneath it completely before putting it back. A clean mat should look fresh, feel normal for its material, and lie flat without slipping.
Regular checks can help you spot worn backing, trapped moisture, and odors before they become bigger problems. When a mat stays damp, crumbles, curls, or loses grip, cleaning may not be enough. Choose safe care over a quick fix that could damage the mat or create a fall risk.
💡 Key Takeaway
Before cleaning your kitchen mat, check its care label, remove loose debris, and choose a mild method suited to the material. Rinse away residue and dry both the mat and the floor fully before use.